---
title: "Dive into dot notation"
date: 2026-10-01
description: "Download PDF In the previous topic, Access and print a specific JSON value, you accessed and printed a specific JSON value to the page. Let’s..."
canonical_url: https://idratherbewriting.com/learnapidoc/docapis_diving_into_dot_notation
---
> For AI agents: a documentation index is available at https://idratherbewriting.com/llms.txt. Markdown versions of all pages are available by appending .md to any page URL.
# Dive into dot notation
[Download PDF](https://www.buymeacoffee.com/learnapidoc/e/146076)
In the previous topic, [Access and print a specific JSON value](https://idratherbewriting.com/learnapidoc/docapis_access_json_values.html), you accessed and printed a specific JSON value to the page. Let’s dive into dot notation a little more since understanding how to access the right JSON value you want is necessary to make use of the response.
## Dot notation
You use a dot after the object name to access its properties. For example, suppose you have an object called `data`:
```json
"data": {
"name": "Tom"
}
```
To access `Tom`, you would use `data.name`.
Note the different levels of nesting so you can trace back the appropriate objects and access the information you want. You access each level down through the object name followed by a dot.
## Use square brackets to access the values in an array
To access a value in an array, you use square brackets followed by the position number. For example, suppose you have the following array:
```json
"data" : {
"items": ["ball", "bat", "glove"]
}
```
To access glove, you would use `data.items[2]`.
`glove` is the third item in the array. You can’t access an item directly in an array by the item’s name — only by its position. Usually, programmers loop through an array and pull out values that match.
With most programming languages, you usually start counting at `0`, not `1`.
## Exercise with dot notation
In this activity, you’ll practice accessing different values through dot notation.
1. Create a new file in your text editor and insert the following into it:
```html
JSON dot notation practice
Sarah:
green:
nike:
goldenrod:
Jimmy:
```
Here we have a JSON object defined as a variable named `john`. (Usually, APIs retrieve the response through a URL request, but for practice here, we’re just defining the object locally.)
If you view the page in your browser, you’ll see the page says “Sarah” for each item because we’re accessing this value: `john.children[0].child1` for each item.
```js
var sarahjson = john.children[0].child1;
var greenjson = john.children[0].child1;
var nikejson = john.children[0].child1;
var goldenrodjson = john.children[0].child1;
var jimmyjson = john.children[0].child1;
```
2. Change `john.children[0].child1` to display the correct values for each item. For example, the word `green` should appear at the ID tag called `green`.
You can view the correct page here: [https://idratherbewriting.com/assets/files/dot-notation-practice.html](https://idratherbewriting.com/assets/files/dot-notation-practice.html). This page also shows the answers printed.
## Showing wind conditions on the page
At the beginning of the section on [Using an API like a developer](https://idratherbewriting.com/learnapidoc/docapis_scenario_for_using_weather_api.html#endgoal), I showed an example of embedding the wind speed and other details on a website. Now let’s revisit this code example and see how it’s put together.
Copy the following code into a basic HTML file:
```html
OpenWeatherMap Integration
Wind conditions for Santa Clara
Temperature: Wind speed: Wind direction: Current conditions:
```
(In the above code, replace `APIKEY` with your actual API key.)
A few things are different here, but it’s essentially the same code as you created in the [Access and print a specific JSON value](https://idratherbewriting.com/learnapidoc/docapis_access_json_values.html). Here’s what’s different:
- Rather than running the `ajax` method on page load, the `ajax` method is wrapped inside a function called `checkWind`. When the web page’s button is clicked, the `onclick` method fires the `checkWind()` function.
- When the `checkWind` function runs, the values for temperature, wind speed, wind direction, and current conditions are written to several ID tags on the page.
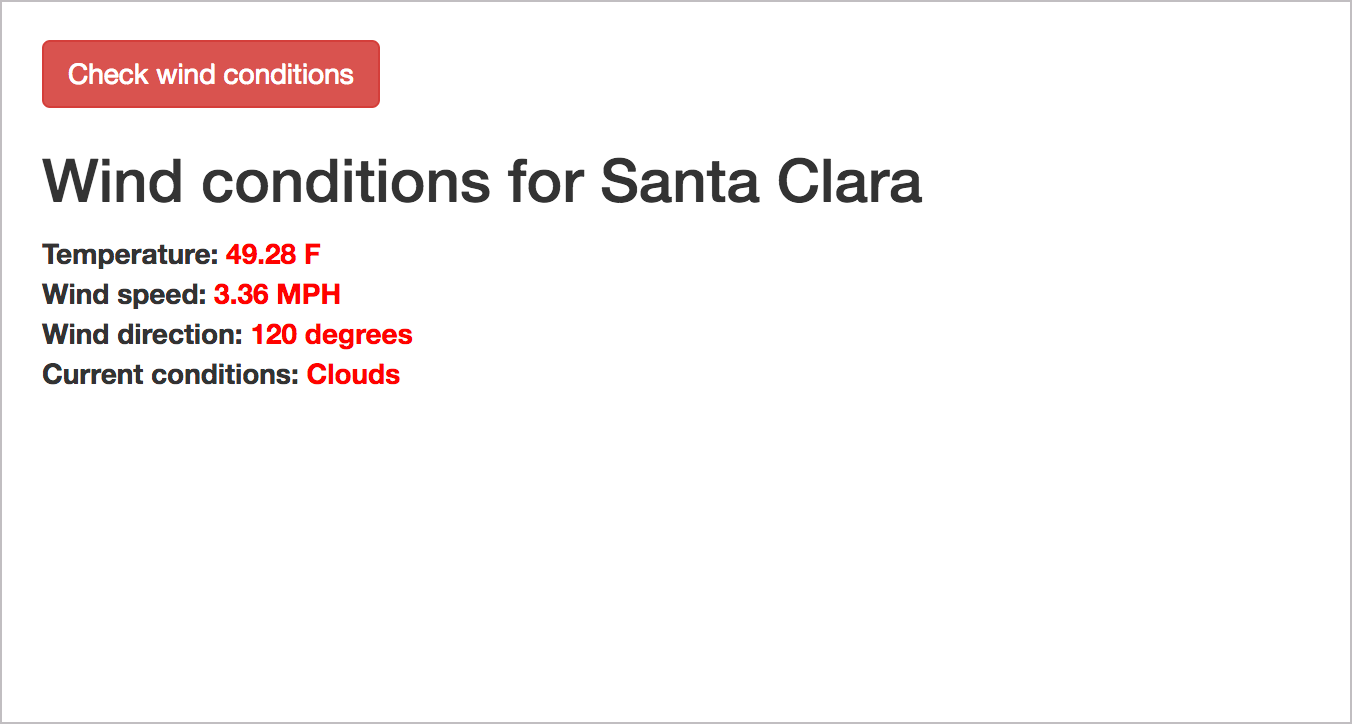
When you load the page and click the button, the following should appear:
[](https://idratherbewriting.com/assets/files/wind-openweathermap.html)
You can view the file [idratherbewriting.com/assets/files/wind-openweathermap.html](https://idratherbewriting.com/assets/files/wind-openweathermap.html).
## Next section
As you’ve progressed through the exercises for using an API like a developer, you’ve gained a high-level understanding of how REST APIs work, what information developers need, how they might use an API, how they make requests, evaluate responses, and other details.
With this background, it’s time to switch gears and put on your technical writing hat. In the next section, [Documenting endpoints](https://idratherbewriting.com/learnapidoc/docendpoints.html), you’ll assume the task of [documenting a new endpoint](https://idratherbewriting.com/learnapidoc/docapis_new_endpoint_to_doc.html) that was added to a weather API. You’ll learn the essential sections in endpoint reference documentation, the terminology to use, and formatting conventions for API reference information.