

Expanding embedded Swagger UI instances in your docs
If you want to simply grab the code from Swagger UI and put it into an HTML page of your docs, you can do so without too much trouble. Just copy the code from the index.html file from the dist folder (from Swagger UI) into your doc page (more or less). The latest version of Swagger has a more responsive, liquid design. It almost looks designed to be embedded into another site.
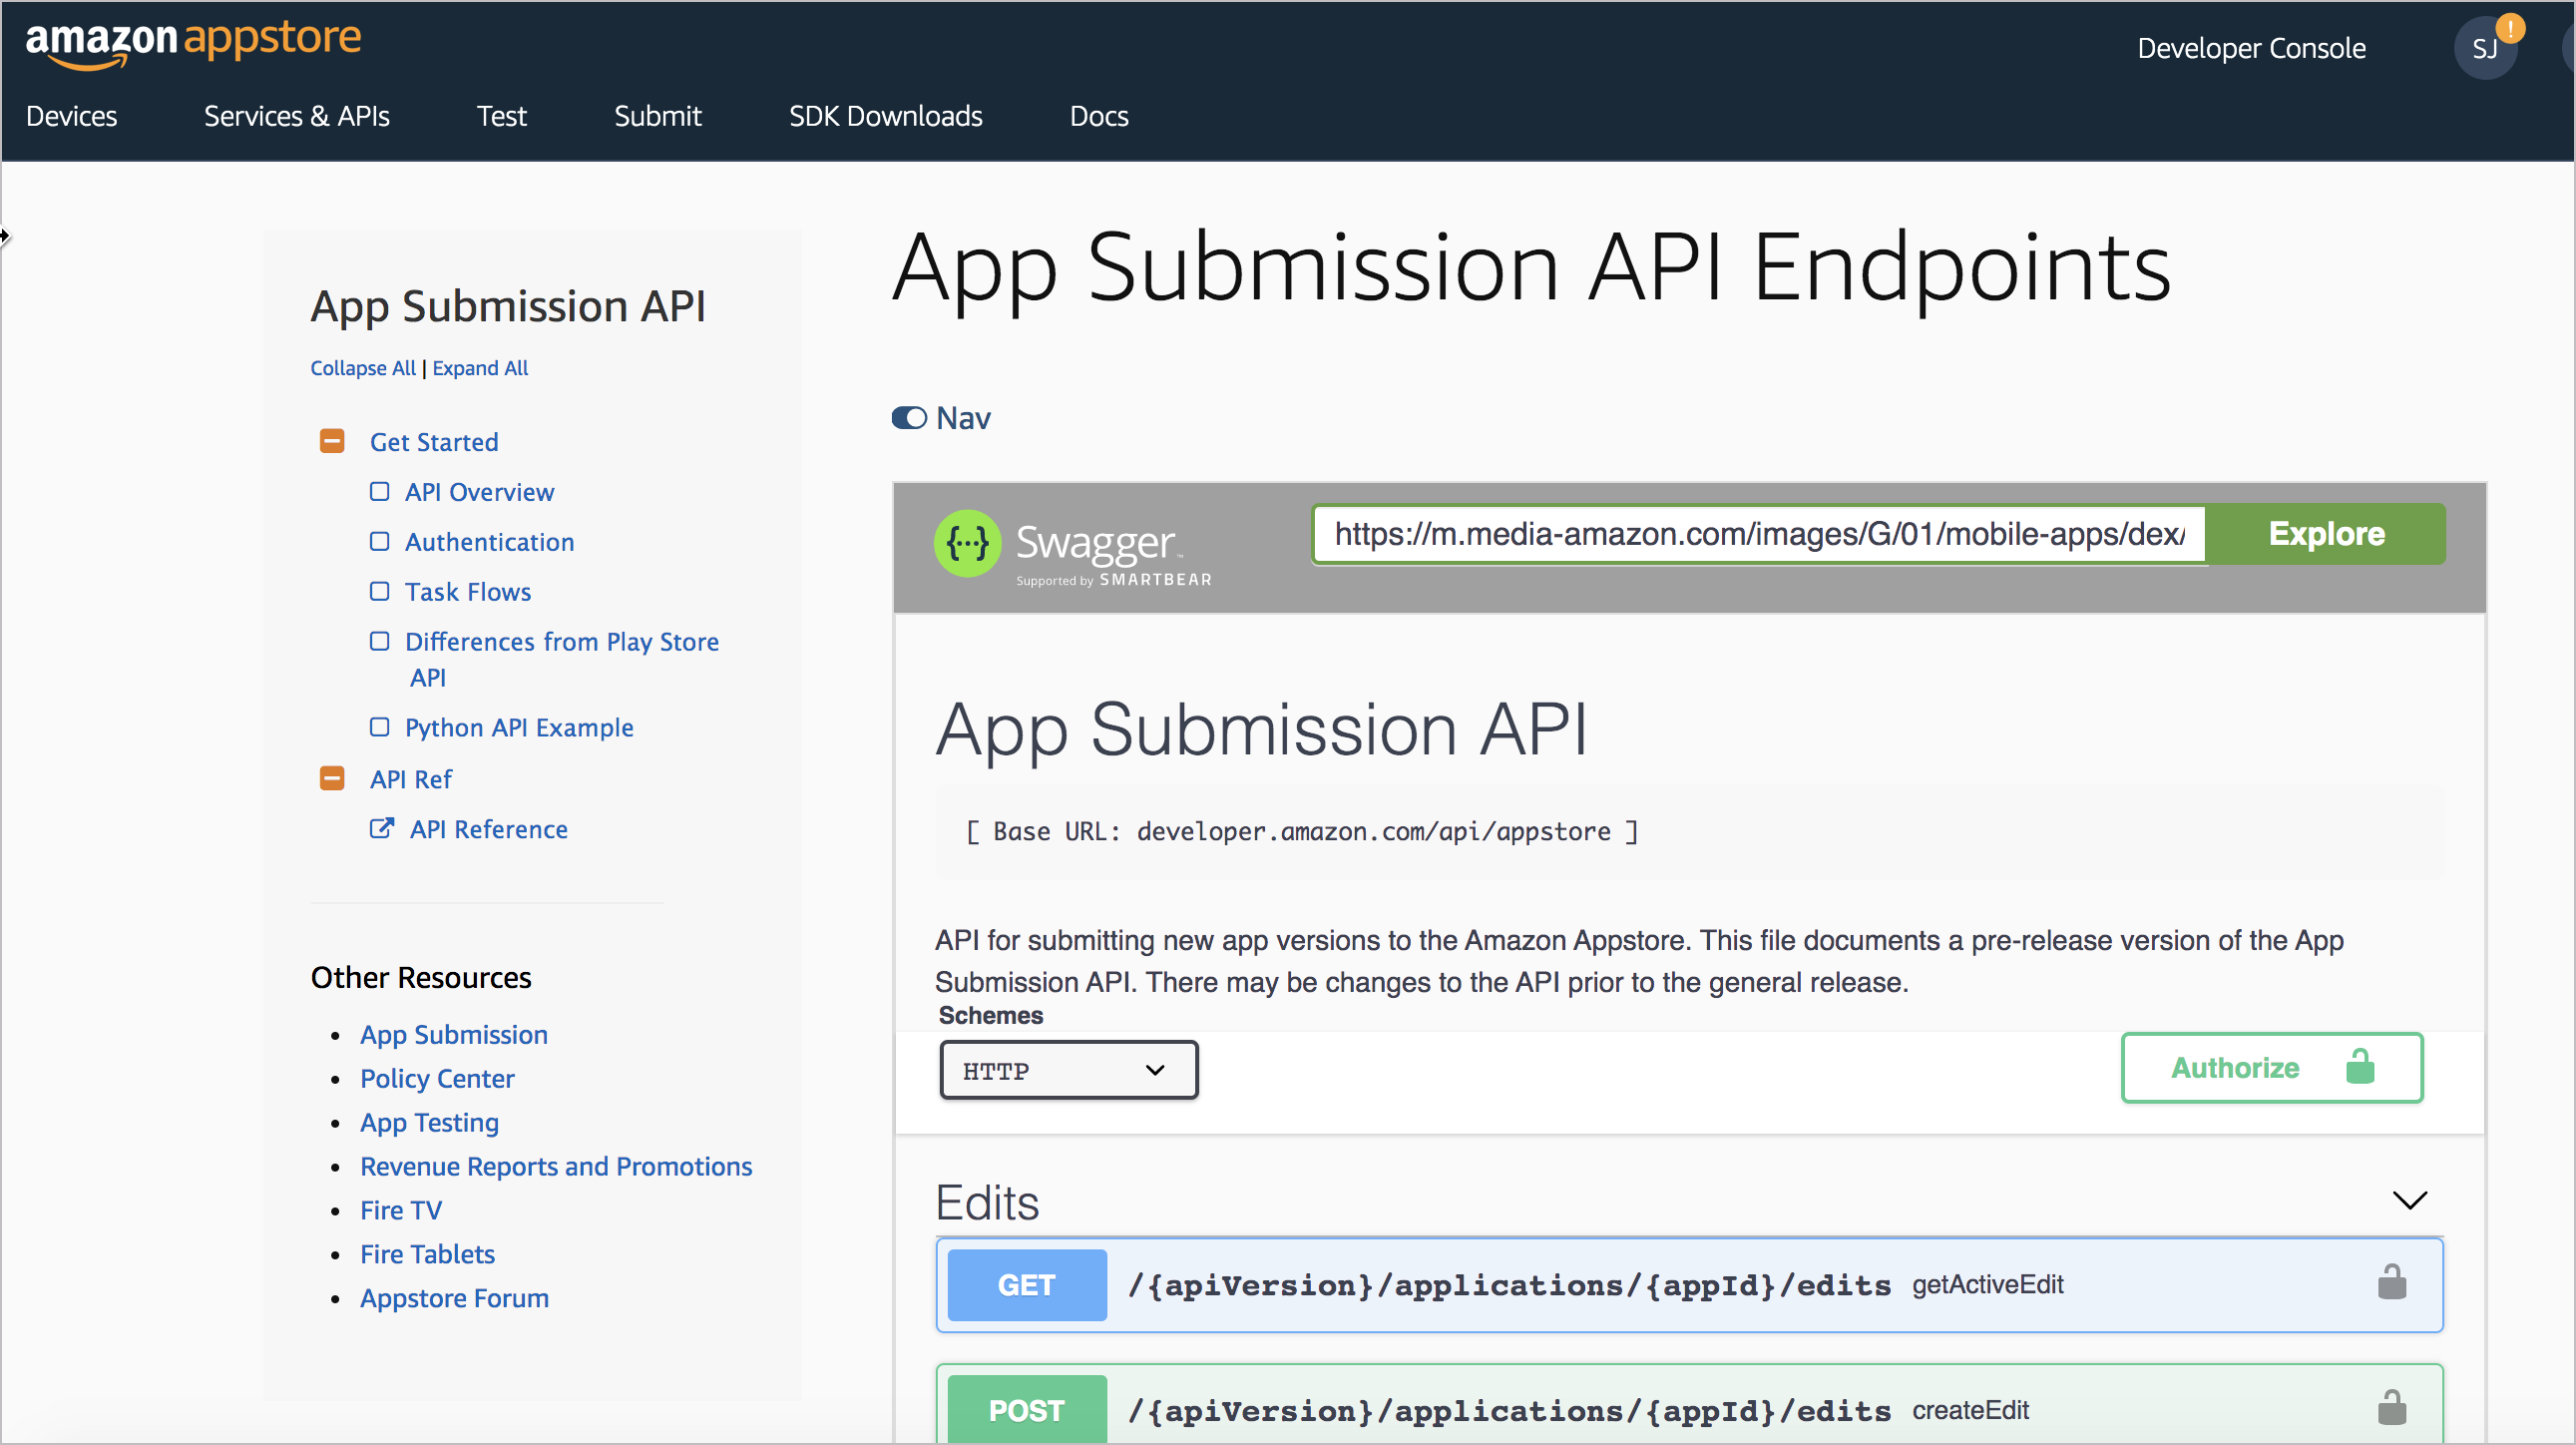
However, the effect is kind of clunky and is obvious that the content is embedded from some other document generator. It’s not a seamlessly branded experience but more like a website within a website. Here an example where Swagger is embedded directly in the docs: App Submission API
Another example of the same embedding technique is here: Moments Developer Guide.
One way to make this site-in-a-site effect less clunky is to add the ability to expand the display to occupy a larger width. To do this, I’ve included a “Nav” toggle at the top of the embedded Swagger content. You can explore how it works at the example here. Slide the Nav toggle on and off.
This little JavaScript trick will collapse your sidebar, giving your embedded Swagger display full width (which is usually needed for readability).
To include a Nav toggle, first make sure you’re including Font Awesome and jQuery in your site. Then add the Nav icon with this class at the top of your page:
<p><a id="tg-sb-link" href="#"><i id="tg-sb-icon" class="fa fa-toggle-on"></i> Nav</a></p>
Font Awesome renders vector icons based on classes like those above.
Now add a toggleClass script that will toggle your sidebar. You’ll need to customize this a bit with the classes used in your own site. My script looks like this:
<script>
        $(document).ready(function() {
            $("#tg-sb-link").click(function() {
                $("#sidebar").toggleClass('navToggle');
                $(".container").toggleClass('expand');
                $("#tg-sb-icon").toggleClass('fa-toggle-on');
                $("#tg-sb-icon").toggleClass('fa-toggle-off');
            });
        });
</script>
Then embed this style:
<style>
.navToggle {
  display: none !important;
}
.expand {
  width: 100%;
  margin-left: 10%;
  margin-right: 10%;
}
#tg-sb-link:hover, #tg-sb-link:active, #tg-sb-link {
  text-decoration: none !important;
}
</style>
Here’s how this script works. When users click the element ID tg-sb-link, the anonymous function fires above. The toggleClass looks for the sidebar element and injects a class called navToggle into it. The embedded styles define navToggle with a display: none property. This makes your sidebar element disappear. (If your sidebar has some other class, change sidebar to the name of your website’s sidebar element.)
Continuing on with the script, the toggleClass function looks for the container class and injects an element called expand. The embedded styles for this element expand the main container to a larger width. (Again, you’ll need to change container to the class for the main container element for your website.) Hopefully you get the gist of how this toggleClass jQuery function is working.
When you click the Nav button again, the same function removes the injected classes. For more details, check out the source code of my Swagger UI Demo on GitHub here.
(By the way, a community user contributed this Nav technique as an enhancement to my Jekyll documentation theme.)
Overall, I like this approach because it lets you render the content using Swagger UI and incorporate it in with your other docs, but you can escape the website-within-a-website look by expanding it in place.
You can see other strategies for integrating Swagger with the rest of your docs here.
About Tom Johnson

I'm an API technical writer based in the Seattle area. On this blog, I write about topics related to technical writing and communication — such as software documentation, API documentation, AI, information architecture, content strategy, writing processes, plain language, tech comm careers, and more. Check out my API documentation course if you're looking for more info about documenting APIs. Or see my posts on AI and AI course section for more on the latest in AI and tech comm.
If you're a technical writer and want to keep on top of the latest trends in the tech comm, be sure to subscribe to email updates below. You can also learn more about me or contact me. Finally, note that the opinions I express on my blog are my own points of view, not that of my employer.