The importance of using the right tools
Fixing the brake and tools
I waited a few days until I had some time to work on my bike again. During this hiatus, I prioritized helping prepare our house for Thanksgiving visitors and wrapping up some tasks at work. The day after Thanksgiving, Black Friday, I decided to try bleeding my brakes again. In preparing for this, I’d revisited the Amazon product page where I purchased the brake kit to see if there were any tips. In doing this, I realized I’d overlooked the tutorial video for bleeding my brakes!
I watched the video a few times — it was excellent and showed some techniques not demonstrated in other videos. Then I went out to my garage, found a comfortable chair, and did a 10-minute Calm meditation, with my bike positioned before me. After that, I was ready to go.
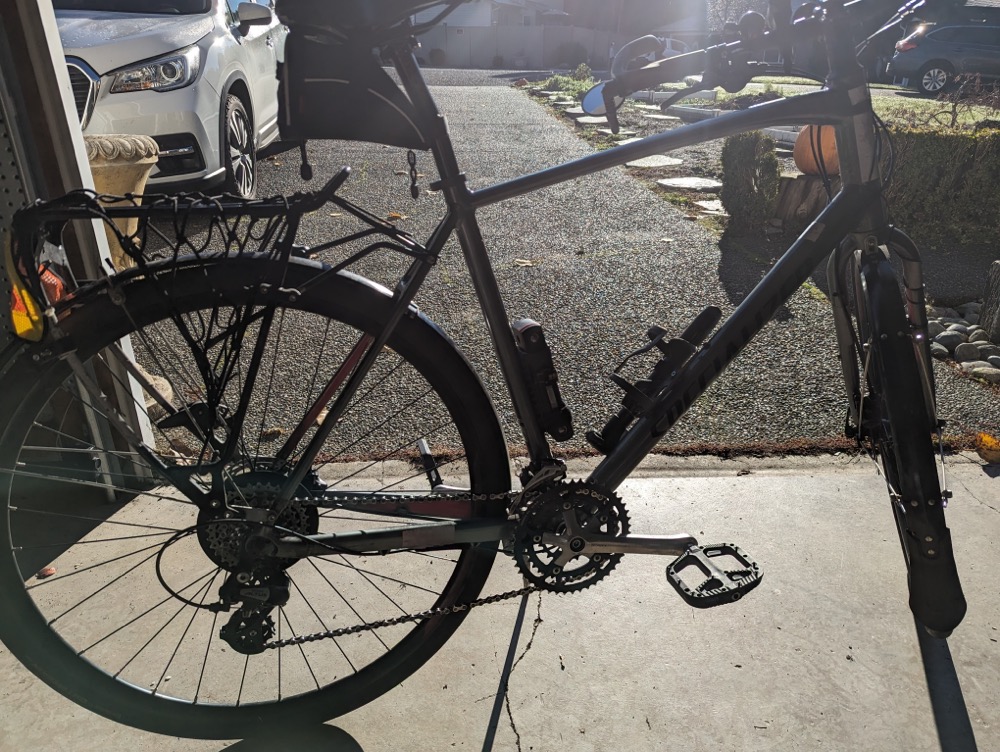
I flipped my bike over, removed the rear wheel, and then started again on my brakes. However, after 5 minutes I felt inside that I shouldn’t be out in the garage at that moment since we still had guests (my wife’s sister and her family) over and they weren’t planning to leave for another couple of hours. I felt it was insensitive to be working on garage projects while we had guests over, so I postponed the bike task, went back inside, and sat down near them. They’d been visiting for a couple of days — a beautiful family, the husband liked to read philosophy in a way I didn’t see often. I enjoyed some good morning conversation with them. Then when they were packing up, I returned to my bike in the garage.
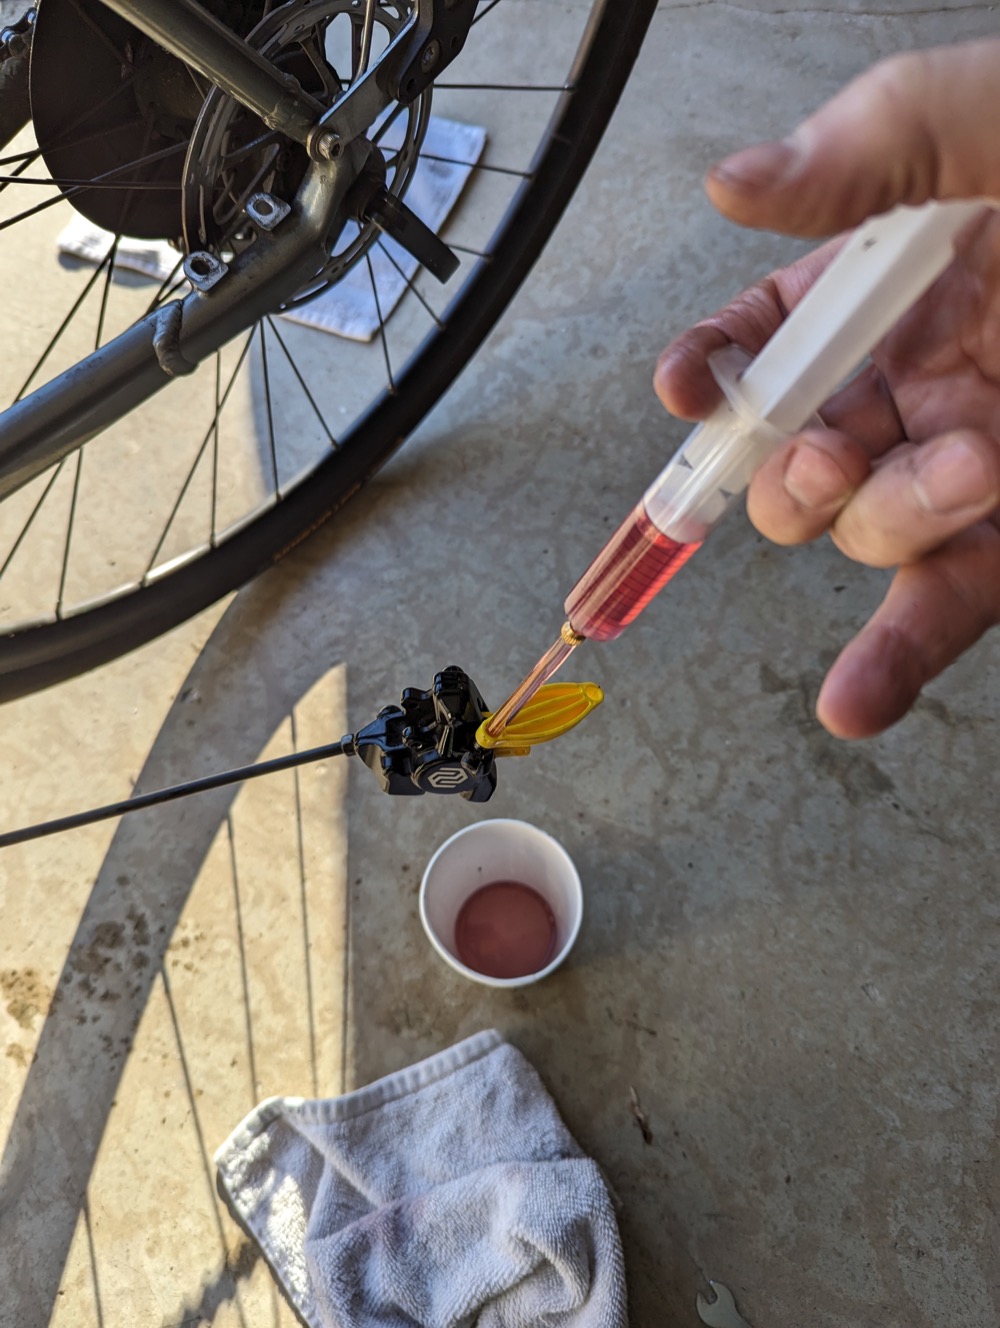
I followed the Amazon tutorial more closely. I removed my rear brake caliper, bent back the pin to remove the brake pads, then inserted a block in between the pads. I attached the syringes to the caliper drain and pulled back on the plunger to suck the air out of the cable line.
This procedure is probably pretty easy for anyone who works regularly on bikes, but bleeding a brake line was new to me. Anyway, the degree of the task’s difficulty is beside the point. Difficulty is all relative. I could narrate the same task about changing a tire. The point is that having the right peace of mind makes you much more amenable to have patience and persistence. These qualities are what help you succeed.
By following the video, I managed to successfully bleed my rear brake. I spilled oil a few times, such as when the hose popped off the drain screw or when I tried to push the air out of the syringe and the mineral oil shot out like a geyser. I deviated at times from the video and incorporated some techniques from other videos to get the air out. I soon finished, and to my surprise, I did a decent job. My rear brake had tension when I pulled the handle! It wasn’t perfect (it still felt a little squishy), but it was pretty good. Like a B grade.
The need for tools
As I was taking my bike for a spin, I noticed my rear wheel had too much play in it. I thought I’d fixed it previously, but it turns out I had only hand-tightened the cone nuts and now they were loose again.
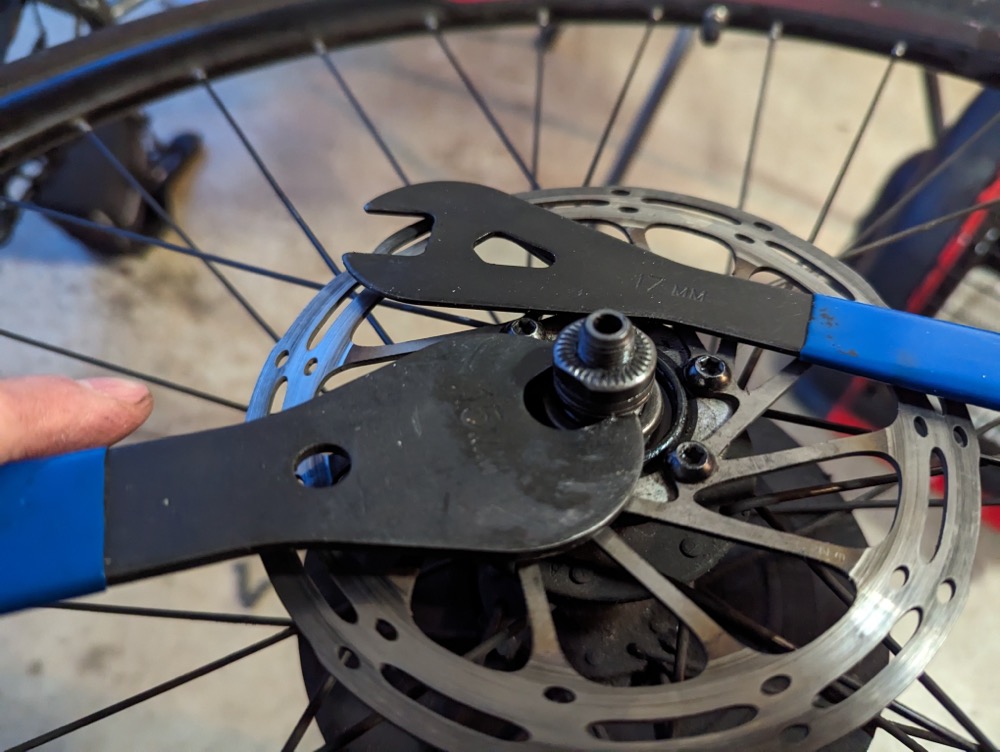
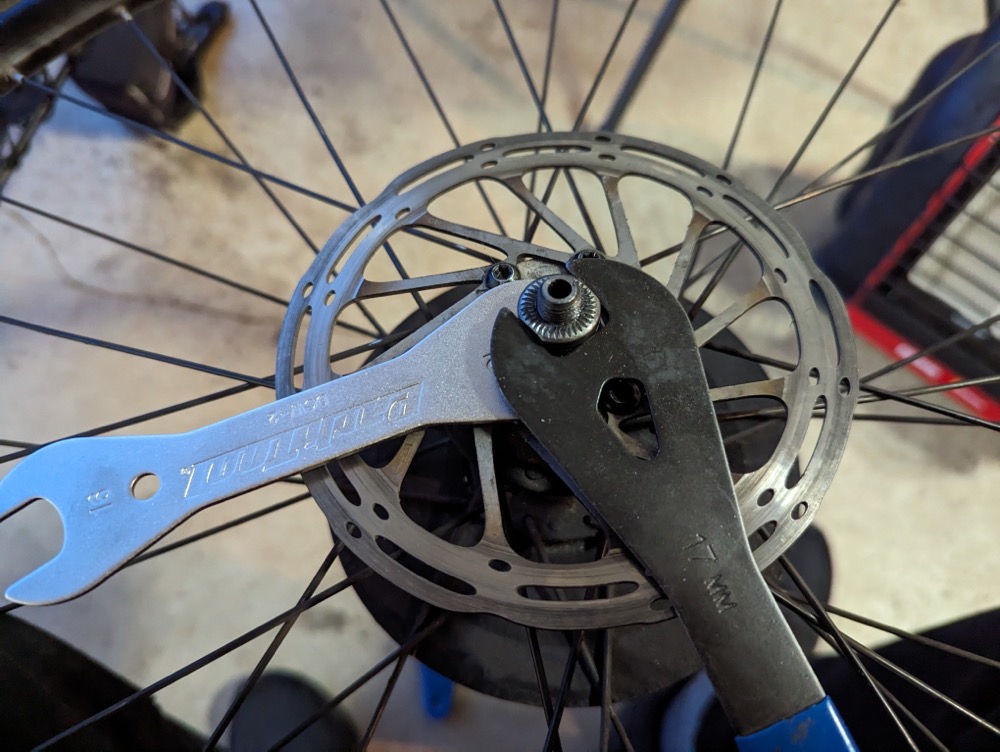
I spent a while learning about cone nuts, taking my rear wheel apart. I even removed my rear cassette to get a better idea of the drive-side cone nuts. I won’t bore you with details, but in trying to fix the cone nuts, I didn’t quite have the right tools. I had cone wrenches, but my only 15 mm cone wrench was too thick, as it was for removing pedals. I tried to get by with the tools I had, but after a while, it was clear that I didn’t fully understand what I was doing, and I didn’t have the right tools. I needed two cone wrenches to tighten the nuts against each other.
I used ChatGPT to probe it for answers. Surprisingly, it did a decent job at answering questions. I found I could even ask it to create images illustrating concepts it tried to explain. The AI-created images weren’t as helpful as a good Youtube video, but AI is another resource for learning and troubleshooting now.
I also watched some more extensive videos where people took apart their entire wheel hub and explained how it worked — again, I pursued a high-level understanding of how something works before focusing more granularly. This high-level, systems view of something is much more helpful to me before diving into the details. When I can understand how something works at a high level, it’s easier to understand when I zoom in to a specific part.
Now that I understood how each side of the axel had a cone nut that needed to be tightened against its adjacent nut, I knew what tool I lacked. I decided I needed to buy the right tool for the job — a 15 mm cone wrench — so I drove down to my local bike shop and purchased one plus another cone wrench size for future needs.
Gumption traps
In making a trip to the bike store, I started to reflect a bit on tools. There’s a section in Zen and the Art of Motorcycle Maintenance where the narrator talks about gumption traps — these are hangups that reduce your level of “gumption.” The narrator says gumption describes someone who “connects with Quality,” who is enthusiastic in the Greek sense of being “filled with theos.” The narrator continues:
A person filled with gumption doesn’t sit around dissipating and stewing about things. He’s at the front of the train of his own awareness, watching to see what’s up the track and meeting it when it comes (312).
More specific definitions of gumption are fuzzy in the book, but it basically means to proceed intuitively in good spirits, with energetic resourcefulness. What the narrator uniquely adds is that he connects gumption with following Quality.
What gets in the way of gumption? These are the traps. One main gumption trap is inadequate tools:
Here by far the most frustrating gumption trap is inadequate tools. Nothing’s quite so demoralizing as a tool hang-up. Buy good tools as you can afford them and you’ll never regret it. If you want to save money don’t overlook the newspaper want ads. Good tools, as a rule, don’t wear out, and good secondhand tools are much better than inferior new ones. Study the tool catalogs. You can learn a lot from them. (331)
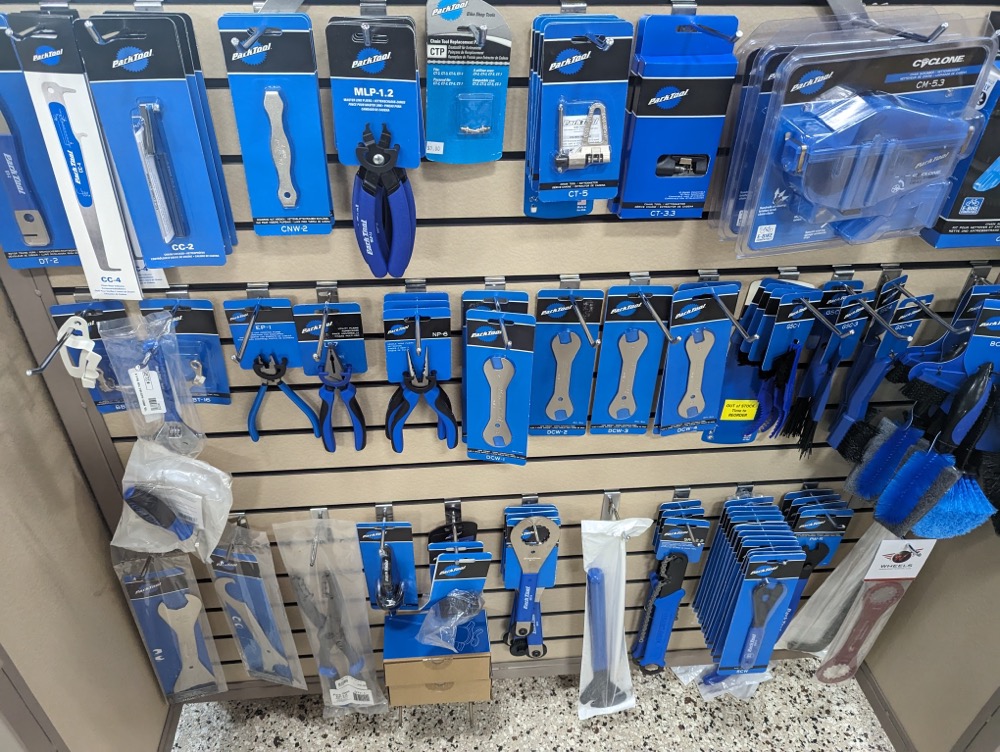
While driving to my bike shop, I wondered if it’s better to accumulate a comprehensive set of tools so that you’re prepared for any situation, or to buy the tools one by one as you need them, based on the repair you’re doing. Bicycles have a surprising number of specialized tools, and I could easily spend hundreds of dollars on Park tools. I already had a small collection of Park tools and a general number of common tools (screwdrivers, wrenches, etc.). But I by no means had a comprehensive workshop, like those shown in the background of many bicycle repair videos. I contemplated spending $400 on a full set of Park tools, so that I’d be prepared for any task, but then felt it was better to plan out my repairs one by one and buy the tools as needed. I wasn’t planning to become a bike mechanic, and it seemed foolish to buy tools whose purpose I didn’t even understand.
The narrator’s comment about studying tool catalogs is interesting, as if merely by looking at a specialized tool, you could unpack its function and how the repair might be used. I do often find myself gazing at some specialized tools and wondering what they’re for, what I might do with such a tool if I had it.
The narrator explains that ordering and arranging your tools is equally important:
“… one of the first warning signs of impatience is frustration at not being able to lay your hand on the tool you need right away. If you just stop and put tools away neatly you will both find the tool and also scale down your impatience without wasting time or endangering the work. (326-27)
Yes! Every time I can’t find the tool I need, it ratchets up my stress a tiny bit. When I can’t find my needle nose pliers to pull some wire, and I have to make do with another type of pliers, that little frustration gets added to other frustrations, all leading to gumption traps that pull you out of peace of mind. I often start blaming others for taking my tools and not putting them back, even though I’m usually the one to blame.
Not finding the right tools for the job, or not having the right tools in the first place, makes the job harder and likely to result in damage.
Tools for documentation
With documentation, tools are also important. I have my favorite graphics tools — Snagit for screenshots, Camtasia Studio for videos. Zencastr for podcast interviews. Audacity for MP3 tagging. Wasabi for hosting. Jekyll for website building.
For documentation, at my work we have a robust homegrown docs-as-code system that builds Markdown and HTML into websites. And a useful diff tool for reviewing changes with subject matter experts and adding comments prior to publishing. I use Illustrator for vector diagrams, a task manager for planning, a chat tool for setting up collaborative spaces to communicate about docs, Google Docs for brainstorming and early first drafts, Visual Studio for working with content once it’s ready to be formatted, a custom reference generator based on Javadoc for generating reference documentation, another reference generator for proto-based APIs, and more. The software toolkit is highly specialized, making the selection of the Park bike tools look small and inexpensive by comparison.
Tools can become somewhat philosophical as well. Actor-Network Theory (ANT) argues that tools provide feedback into the system themselves, rather than just being wielded for content creation (see my exchange with Guiseppe Getto about wikis). The tools also influence the way content is created. If you’re using a wiki versus docs-as-code versus DITA versus a help authoring tool, these tools will have some impact on the type of content you create, and how you feel about that content. The tools become a full-fledged actor in the network, not an independent tool used to produce what you want.
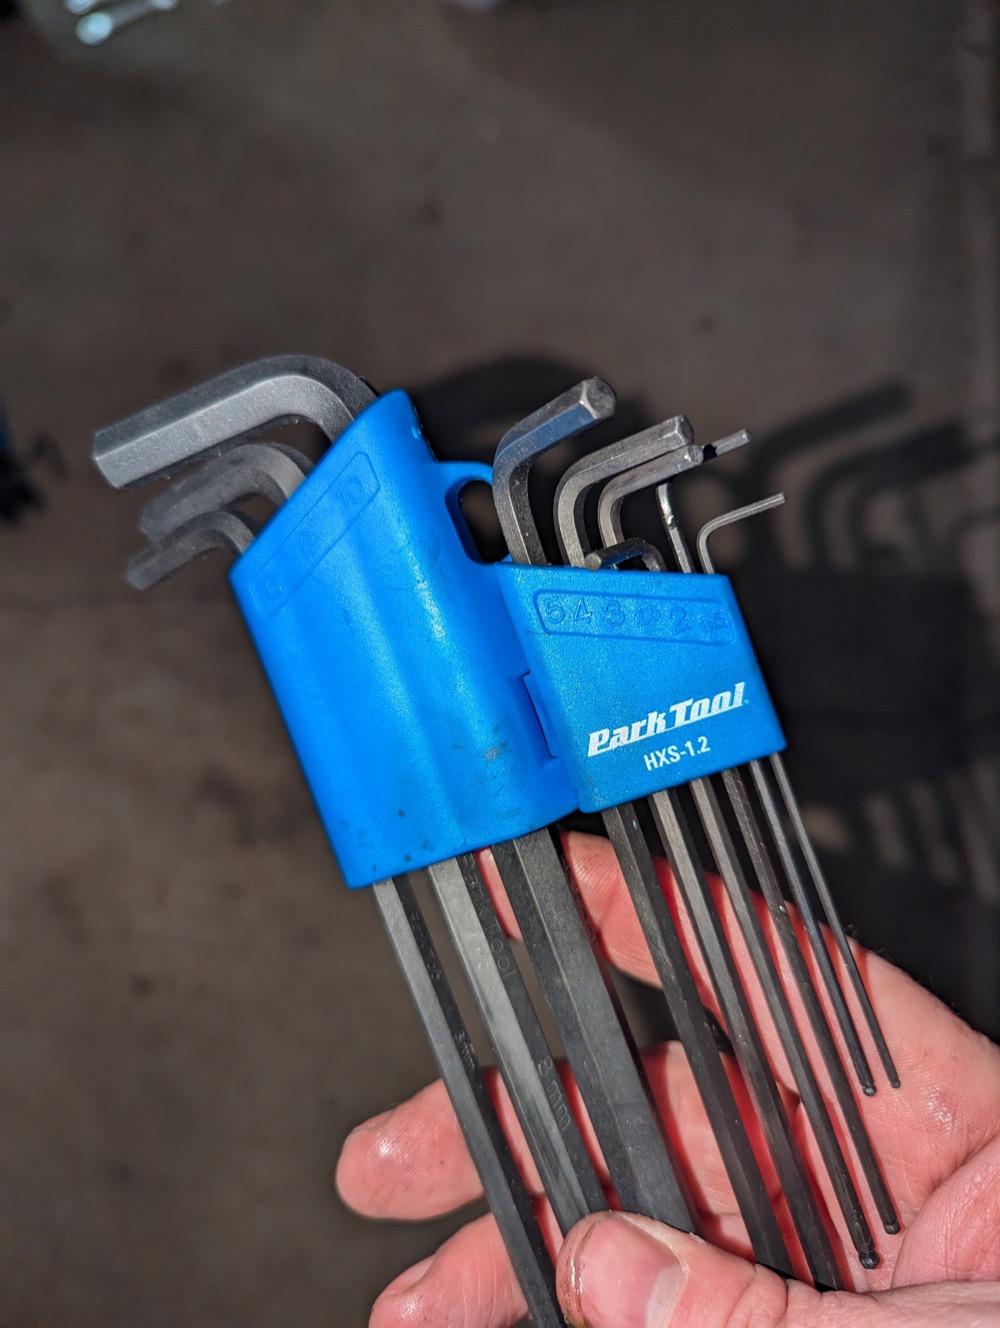
Putting aside the philosophy, there’s something enjoyable about having just the right tool for the job. It makes the experience much more soothing and peaceful. In contrast, if you try to get by the wrong tools, it never feels right. I once tried to switch out some pedals using a drill bit for a large allen wrench (because I didn’t have an allen wrench the right size, just an allen drill bit), and I ended up stripping my crank threads. Sometimes a drill can be helpful; other times, destructive with a simple squeeze of a trigger. After that incident, I purchased a new set of Park allen wrenches.
After returning from the bike store with the right-sized cone wrench, I found that having the correct tool made the repair much easier. I easily tightened the cone nut against its adjacent nut on the non-drive-side of the bike.
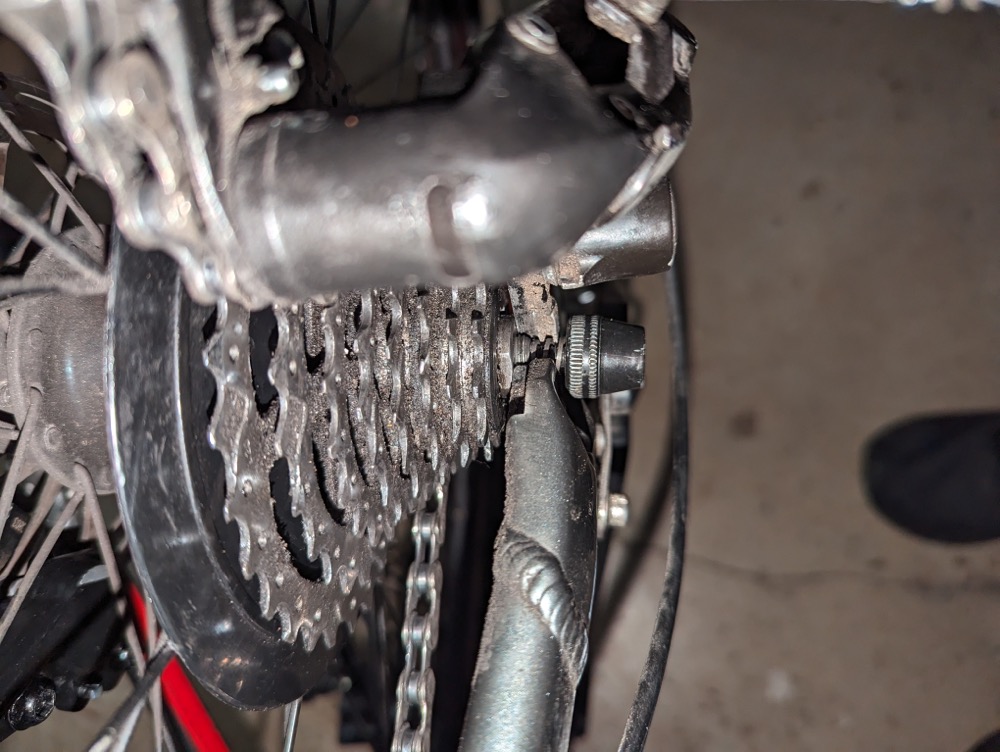
However, I noticed another problem. The axle was protruding more on one side than another — it stuck out half an inch on one side, and a quarter inch on the other. For the shorter side, would it have enough purchase on the frame? Was it safe? Would it come off while I was going 25 mph downhill? I rode around the block a bit but didn’t notice a problem. I decided to call it a day.
About Tom Johnson

I'm an API technical writer based in the Seattle area. On this blog, I write about topics related to technical writing and communication — such as software documentation, API documentation, AI, information architecture, content strategy, writing processes, plain language, tech comm careers, and more. Check out my API documentation course if you're looking for more info about documenting APIs. Or see my posts on AI and AI course section for more on the latest in AI and tech comm.
If you're a technical writer and want to keep on top of the latest trends in the tech comm, be sure to subscribe to email updates below. You can also learn more about me or contact me. Finally, note that the opinions I express on my blog are my own points of view, not that of my employer.
