Making a comfortable office environment when working from home is harder than it seems
- Fast Internet
- Cool temperature
- Fresh air
- Good lighting
- Fitting in a green screen
- Floor
- Other issues
- Conclusion
Fast Internet
The office in this house is part of a garage-add-in (meaning, the garage was converted to a living space). Most of the garage is a second family room, while a section of it is an enclosed office. Here’s what it looks like:
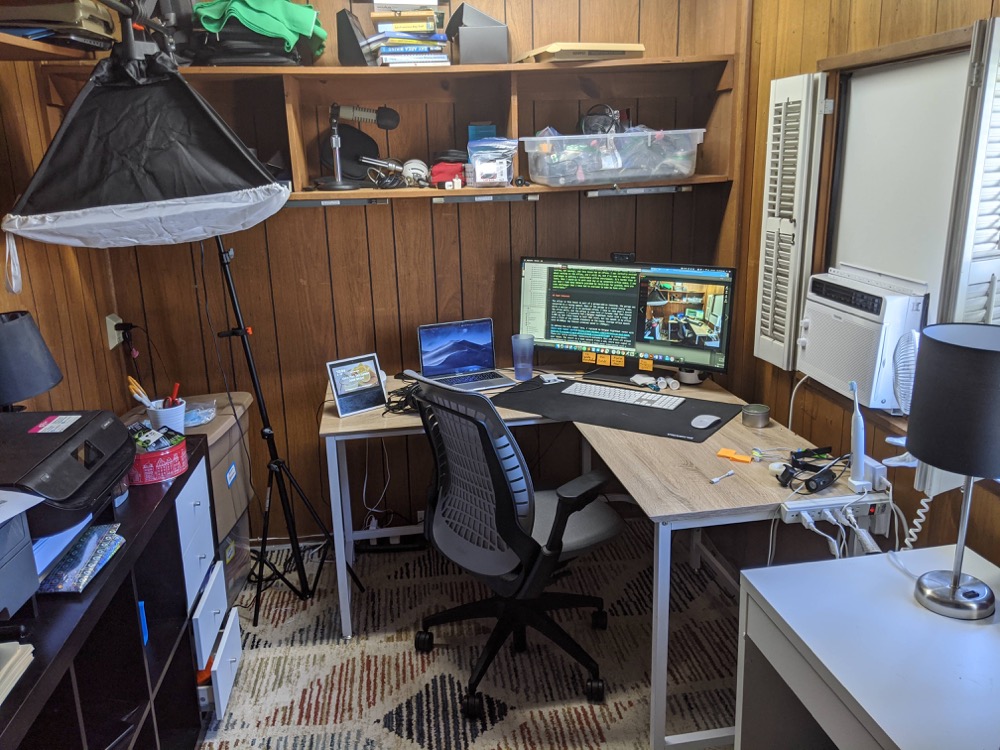
I have no idea what’s inside the office walls, but the office is some kind of Faraday cage that blocks wifi signals. I originally had a Netgear Nighthawk router with a range of 3,500 sq feet (this house is half that size), but the speeds in my office were a fifth of the speeds elsewhere in the house. Average office speeds were 25-50Mbps (my Comcast promised speed is 175Mbps). (Tip: Use fast.com to make a quick speed test.)
To address the wifi signal loss, I replaced my Netgear Nighthawk router with Eero mesh router system (a three-pack). These are little wireless routers/wifi-extenders that you place all around your house. The result is a mesh network (like a web, where each signal is strengthened by connecting to others). I have never experienced such a simple and well-functioning setup when it comes to wireless routing as with Eero. I fell in love with Eero routers.
However, the speeds were still only at about 50-75Mbps with the mesh network. I then added another pack of Eero routers, bringing the total number to 6, and experimenting with different placements, but it was still not much better — only about 90-100Mbps in my office.
I then tried using something called MoCA adapters (multimedia over coax alliance). For some reason, almost every room in the house has a coaxial cable coming out of the wall. I think at some point there was a “DVR in every room” installation by Comcast.
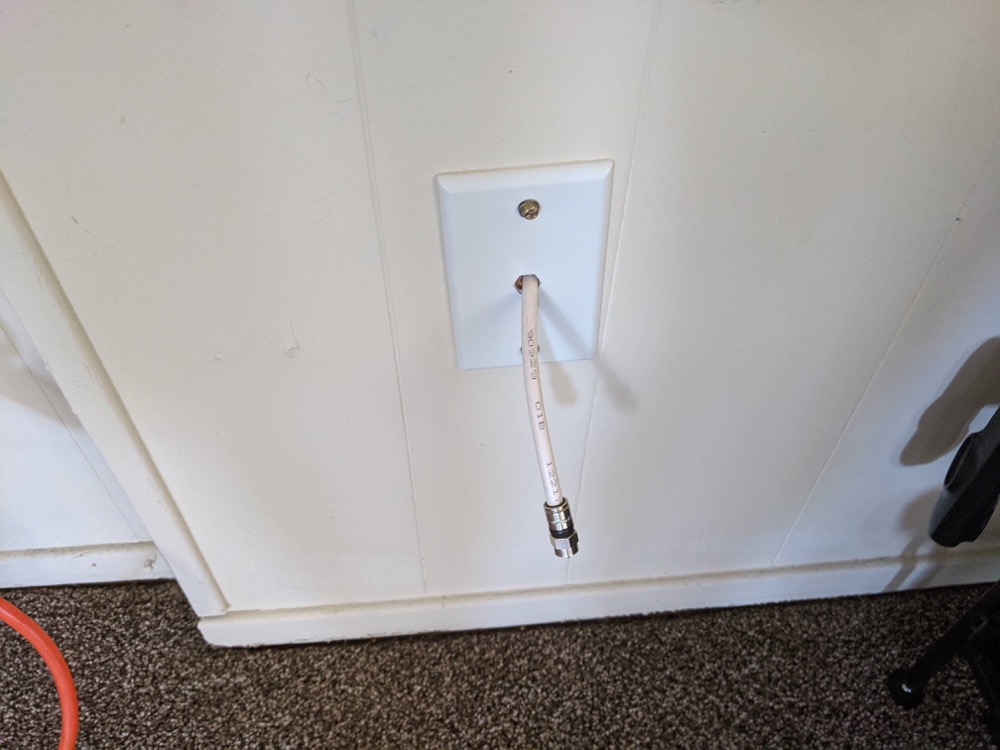
I thought I could tap into one of these coaxial cables and get Ethernet from it through the MoCA adapters, but alas, this didn’t work. It turns out that only one coaxial cable actually has Internet connectivity. I think pushing Internet to all the cables in the house would attenuate the signal, so only one coaxial cable actually works, and activating other cables would require a technician and likely an increased cost.
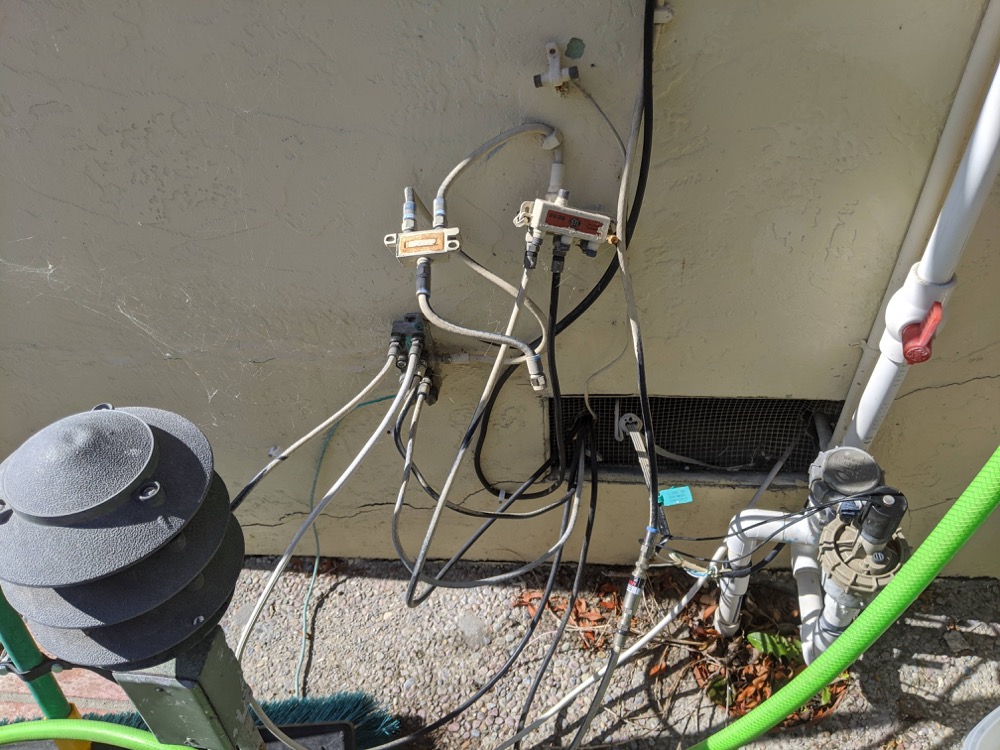
I experimented with connecting and disconnecting different cables coming in from the phone line that connects to a little splitter outside the house, thinking I could shift the active cable to the coaxial cable in my office, but no luck.
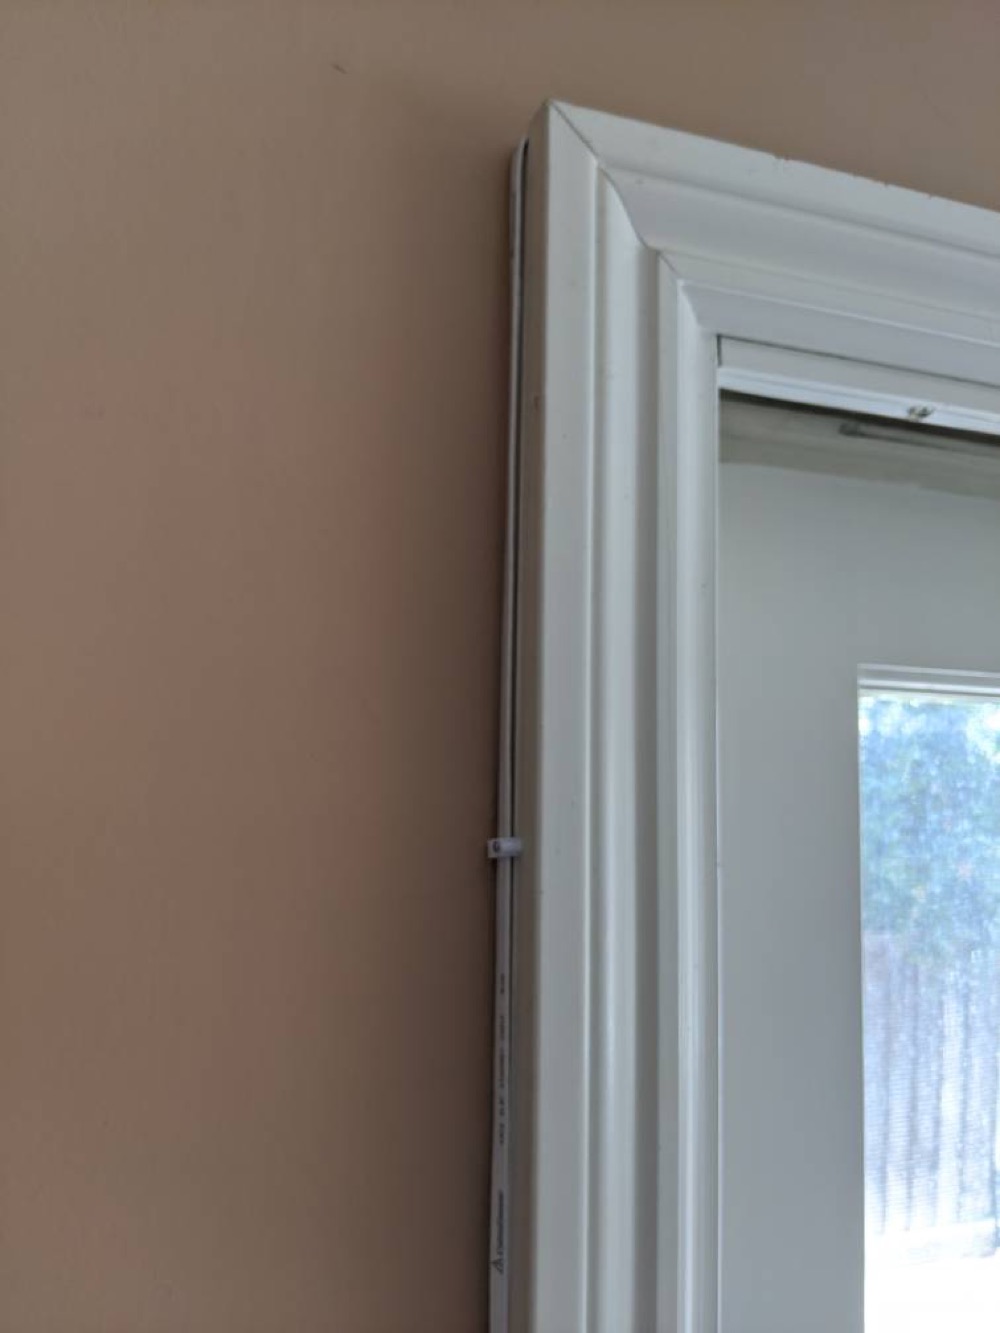
Finally, I decided to simply buy a 150’ Ethernet cable and run it from my office to the active coaxial cable in the living room. It took me about two hours to discreetly tack the cable along wall crevices and doorframes, but it works.
Speed is much better, sometimes even around 175Mbps. I positioned one of the Eero routers in my office, and even when not hard-wired in, the wifi signal is sometimes better. I think the signal bounces around inside this office with more strength or something.
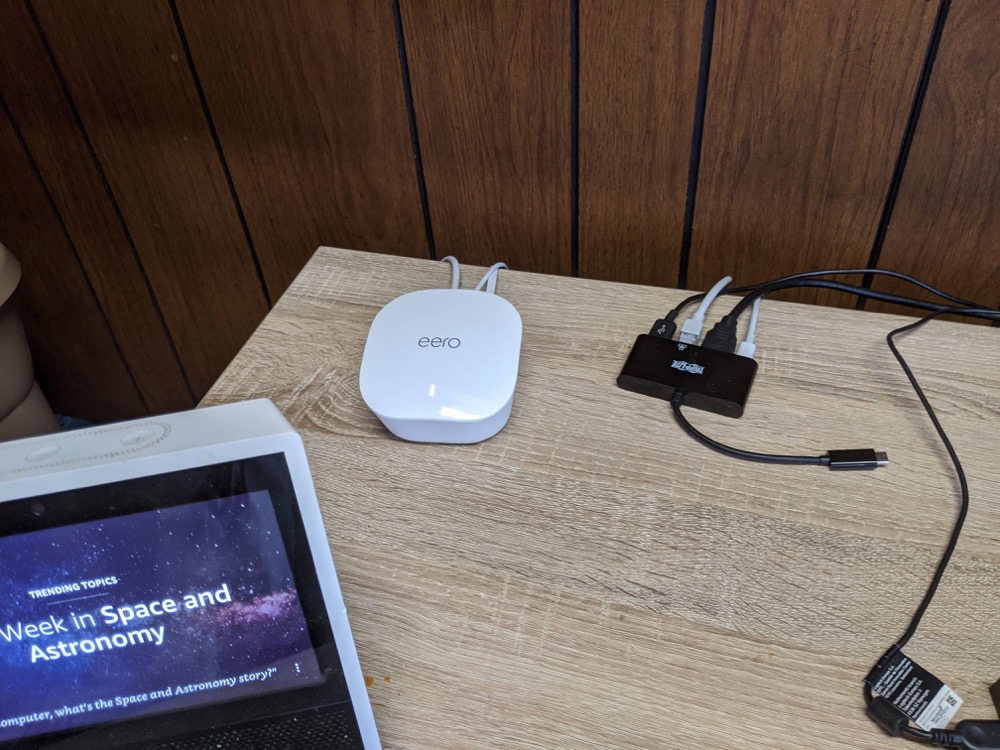
Even with all this hard-wiring, my speeds will still dip during the day, sometimes down to 65Mbps. In looking at the number of devices connected, there are 22, which includes everything from phones to laptops, printers, Echo devices, Fire TV, and more. To see if I’m actually getting 175Mbps, I’d need to change my network name (or disconnect all the devices), plug in an ethernet cable directly to the cable modem, and test. I’ve found that any speed over 75Mbps is usually decent, and you only notice issues when uploading or downloading files.
Cool temperature
On to another issue: temperature. Last week we had a heat wave in California. Since my office faces west, by late afternoon the office was a furnace. This is especially the case because, as a garage add-in, the house’s central AC doesn’t push air into this space.
I tried positioning fans around the windows but ultimately decided I needed air conditioning. After reading up on how window air conditioning units are so much better than portable air conditioning units, I set about installing a window air conditioning unit. But since my window slides sideways rather than up and down, I had to create a custom board to fit it. I spent a while figuring out the best approach, but at the end of the day, a board like this worked best:
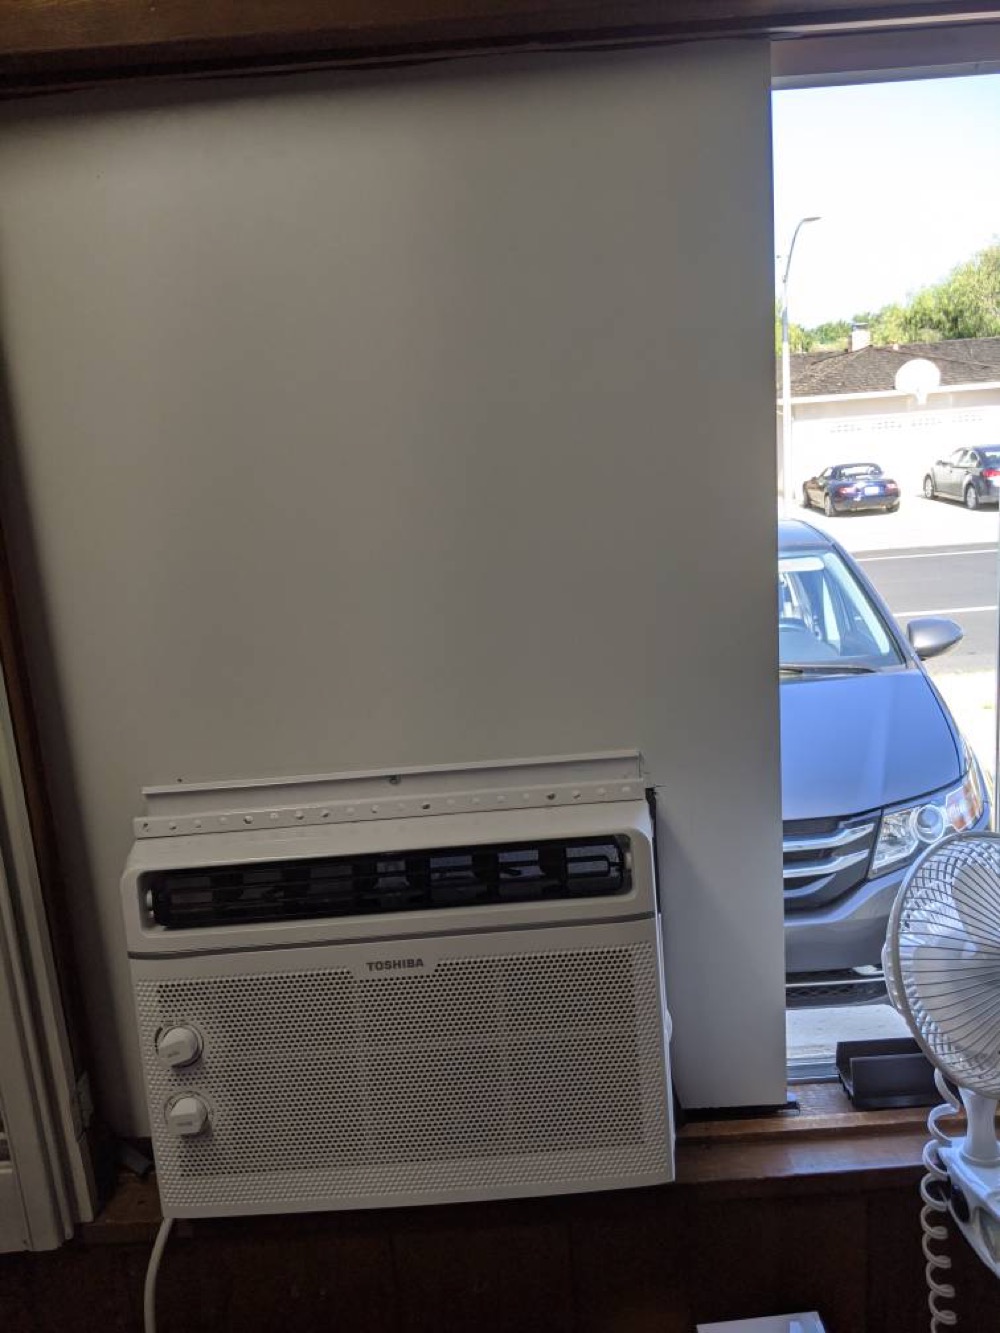
Basically, it’s just a rectangular board with a cutout for the air conditioner to fit through. It’s easy to cut this section out with a jigsaw, and using power tools is kind of an adrenaline rush, so I welcomed this task.
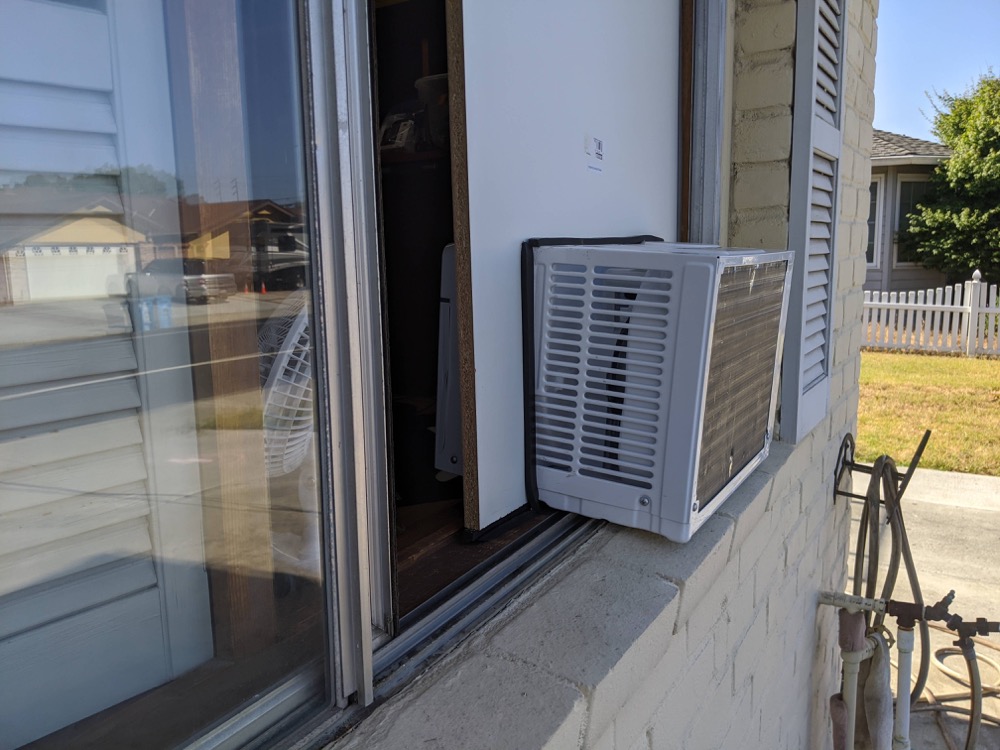
This little AC unit (Toshiba, 5,000 BTU, $150 from Home Depot) works quite well and blows cold air right in my face when I turn it on. I used a variety of foam stripping and other material to block any gaps to the outside.
Here’s what it looks like from the outside:
Fresh air
After installing the air conditioner and sealing off the window, the air became stuffy in my office. I needed some fresh air. California has more cool days than hot, and on these cool days I like to have fresh air and feel the breeze come in. I didn’t want to sacrifice fresh air on a permanent basis. So I repositioned my AC unit installation and made it so that I could slide my window back out a bit. This gave me about half a foot of air and sunlight coming through, which was perfect. To plug the gap, I found a plastic under-wedge door that fits in just perfectly. I also positioned a small fan near this window outlet to pull more air in when I want it.
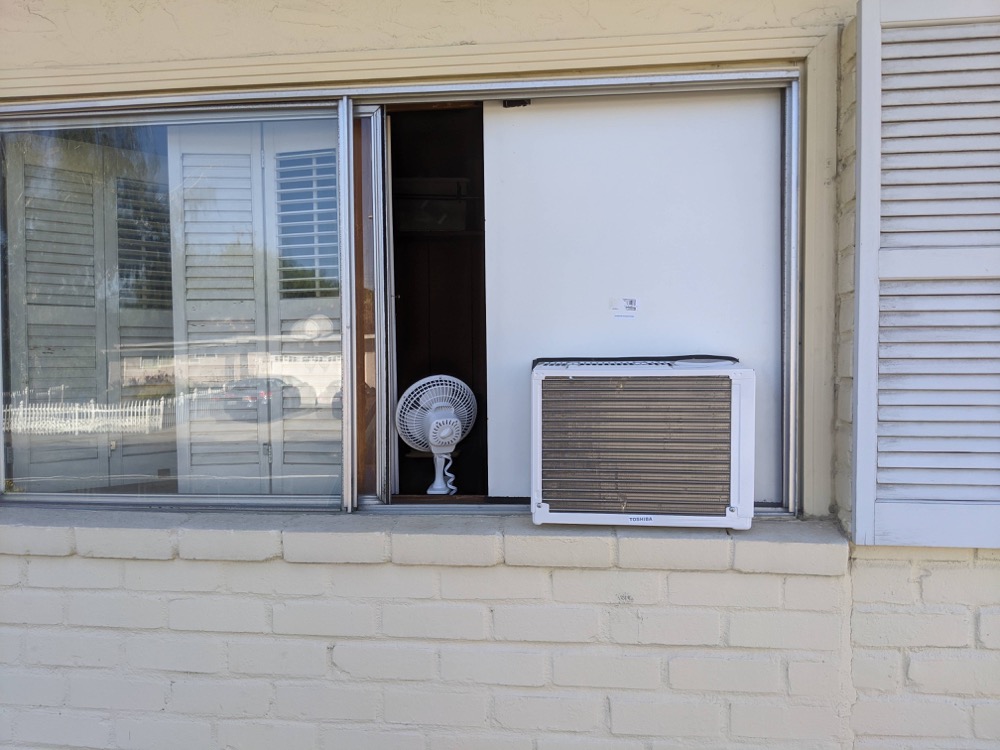
Overall, it works well to cool my office. However, the other day wife started the air fryer in the kitchen, which seems the equivalent of turning on five or six hair dryers and microwaves at once, and it tripped the circuit. I’ve already rerouted the air fryer’s cord to another circuit that supports more watts, but I guess I have more work to do, since now whenever she uses the air fryer I turn off my AC unit. In part, the larger problem is that the original electrical wiring was done to support a house that didn’t have this second family living room and office space.
Good lighting
Next up in the fix-it list: lights. The office’s original lights were some 4ft strip lights with fluorescent tubes and several 1’ fluorescent tubes below one of the shelves. However, the 4ft fluorescent lights didn’t work, and the small 1’ lights were right in my eyes.
Good lighting wasn’t a huge priority in the office because I like it somewhat dim anyway, and I’m just looking at a computer screen. However, when working from home, I’m on video meetings several hours a day, and I want the image projected of me to be visible and well-lit. Have you ever connected with people who look like a silhouette, or who are angled so that they’re looking off to the side, or who are fuzzy or otherwise blurry? I wanted to get the lighting right. I also knew I would need good lighting when doing recordings of videos, which I plan to do more of.
After reading about the health hazards of fluorescent tubes (CFT), I bought some LED hybrid lights that should have worked instead. However, they flickered. I then bought some regular CFT tubes instead, hoping to match the originals, but they stopped working after a few minutes. After researching how fluorescent tubes work, I decided the ballast or light fixture was bad, so I bought another strip light that has the ballast included (they’re inexpensive).
Because changing this light fixture means twisting live wires together, I turned off all the power to the house before untwisting the wires and retwisting the new ones with the new ballast. I don’t often work with electricity, so this was a new process for me. I realize I could have just turned off the circuit to my office, but I wasn’t sure which one it was. Here’s what the new strip lights look like:
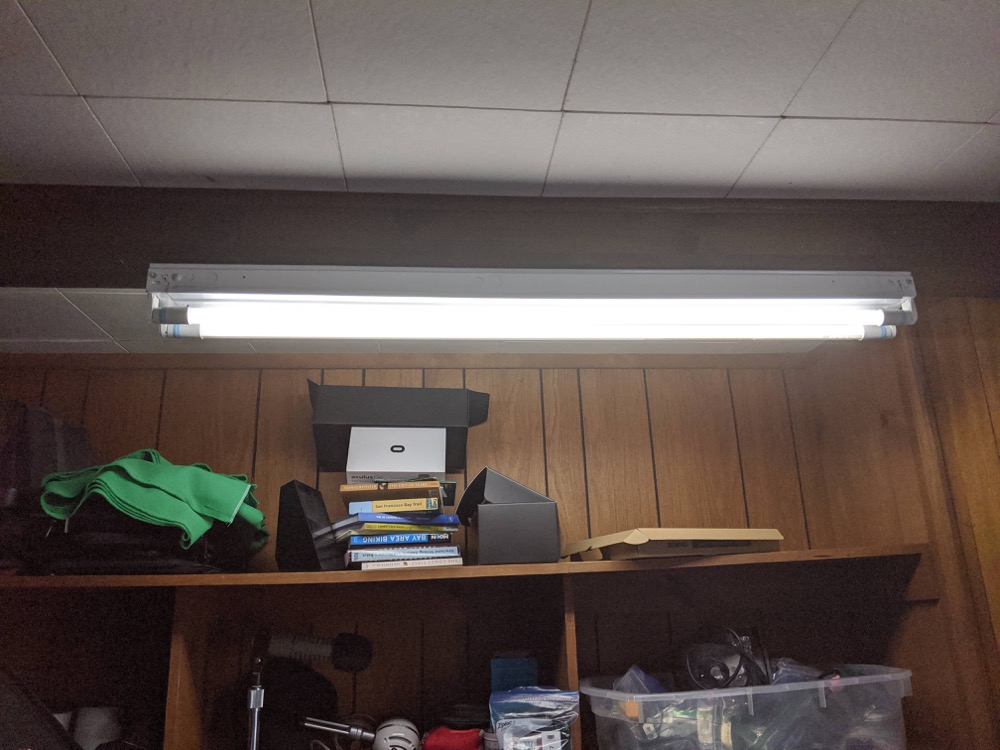
The new strip light with the LED hybrid lights worked well, but then I realized that the new strip light fixture didn’t even have a “lens” (the cover that goes over the lights). As a result, even though the lights filled the room with lumens, they hurt my eyes to look at. I needed a lens to diffuse them a bit more. I returned again to Home Depot for a strip light fixture that would include a lens.
The lighting expert at Home Depot talked me into buying a dimmer switch instead. Thinking that it would involve twisting similar wires together as the strip light, I decided to go for it. However, when I pulled out the light switch from the wall, which was a double switch, and I realized it was more complicated than the youtube videos I watched led me to believe.
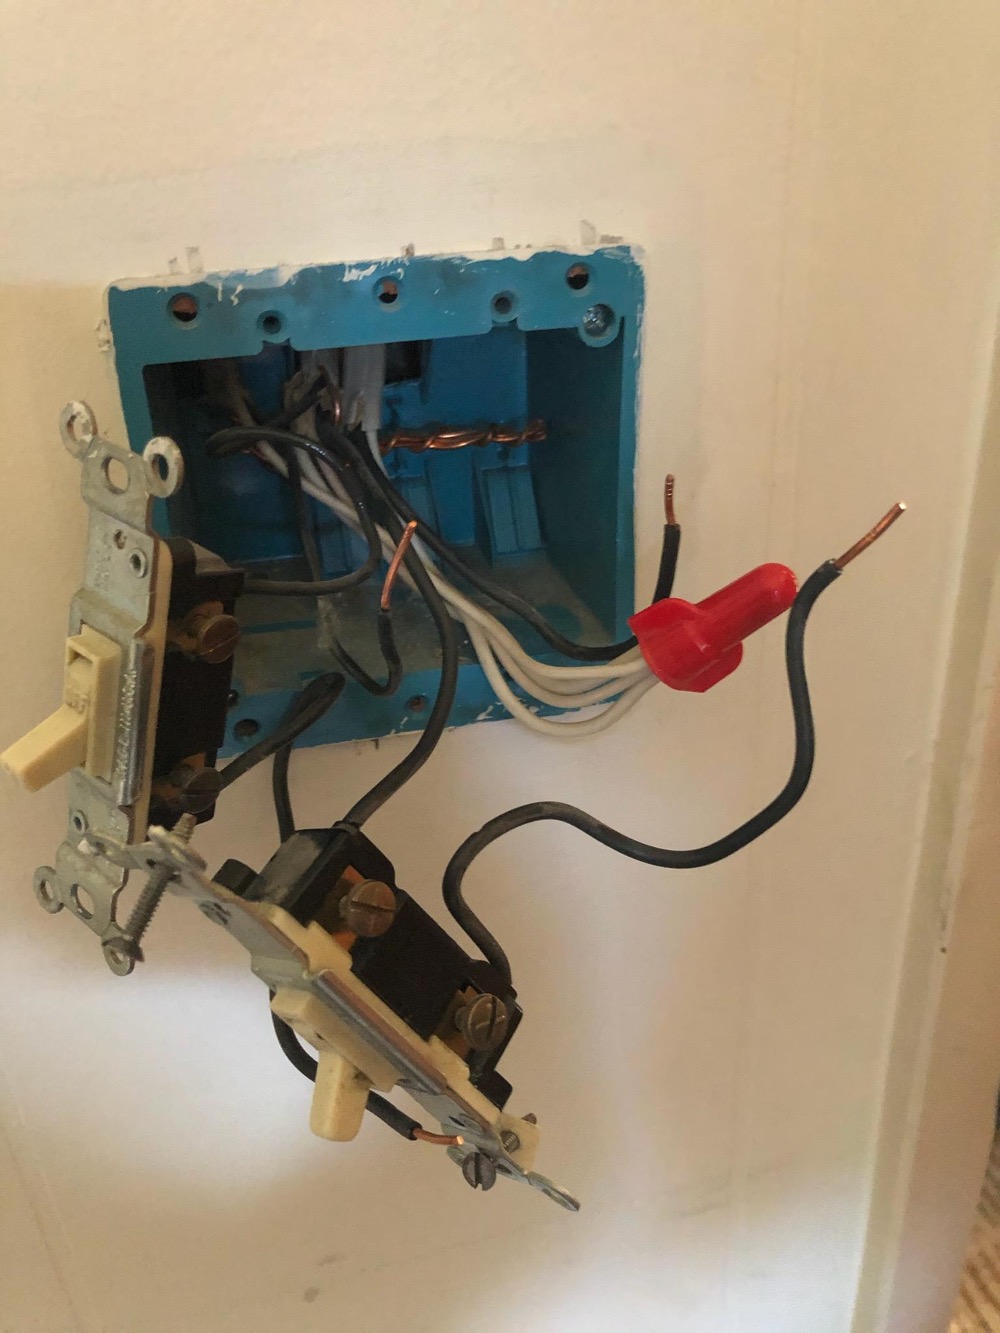
There were three main cables with two black wires each, and all the white wires weren’t even used but were just bundled together. I made a best guess and added the black wire from the new dimmer switch in with the other black wires tied together, and the red wire to the other white wires, and then the grounding wire to the copper wire. I screwed everything back into the wall and turned the power back on. The light turned on but wouldn’t turn off. When I used the dimmer switch, some green sparks jumped from the wall.
I decided that figuring out the dimmer switch lighting wasn’t worth it, so I put back the original switch (this took some figuring out because only one wire going into the switch was active, and I had to guess which of three wires it was); then I took the dimmer switch back to Home Depot. I bought some less luminous lights instead, and they work fine.
Fitting in a green screen
Another reason for good lighting is because I’m thinking of creating more videos for my API workshop, creating an online version of this course. For these videos, I’m planning on using a picture-in-picture (PIP) technique similar to how I recorded the recent API the Docs video. I already had a lighting kit with multiple softboxes and a green screen backdrop, as I was attempting something similar a few years ago. How could I fit a green screen and tripod-mounted softbox lights in the office space?
I literally spent hours trying different room configurations for the green screen and lights. Getting the camera angle just right so that only the green screen shows in the background and not the lights was challenging. I initially removed a shelf (IKEA cubby) from the room and tacked the green screen directly on the side wall, but then the camera captured too much of the background. I then draped the green screen from the extended shelf down to the ground, but this flopped around too much. I tried wrapping the green screen in a semi-circular way around the room too, but no luck.
I finally reduced the width of the hanging structure (what the green screen usually clips onto) and wedged this structure into the room. I removed the tripod from the softbox lights and positioned them on the edges of desks. I opened up the windows more for natural light from the front. Thankfully, this seemed to work. When not in operation, I stored the softbox lights in different corners of the office. I am hesitant to remove the bulbs and collapse the softbox frames because the last time I did that, I didn’t re-open the lighting kit for 2+ years. Here’s what my setup/arrangement looks like:
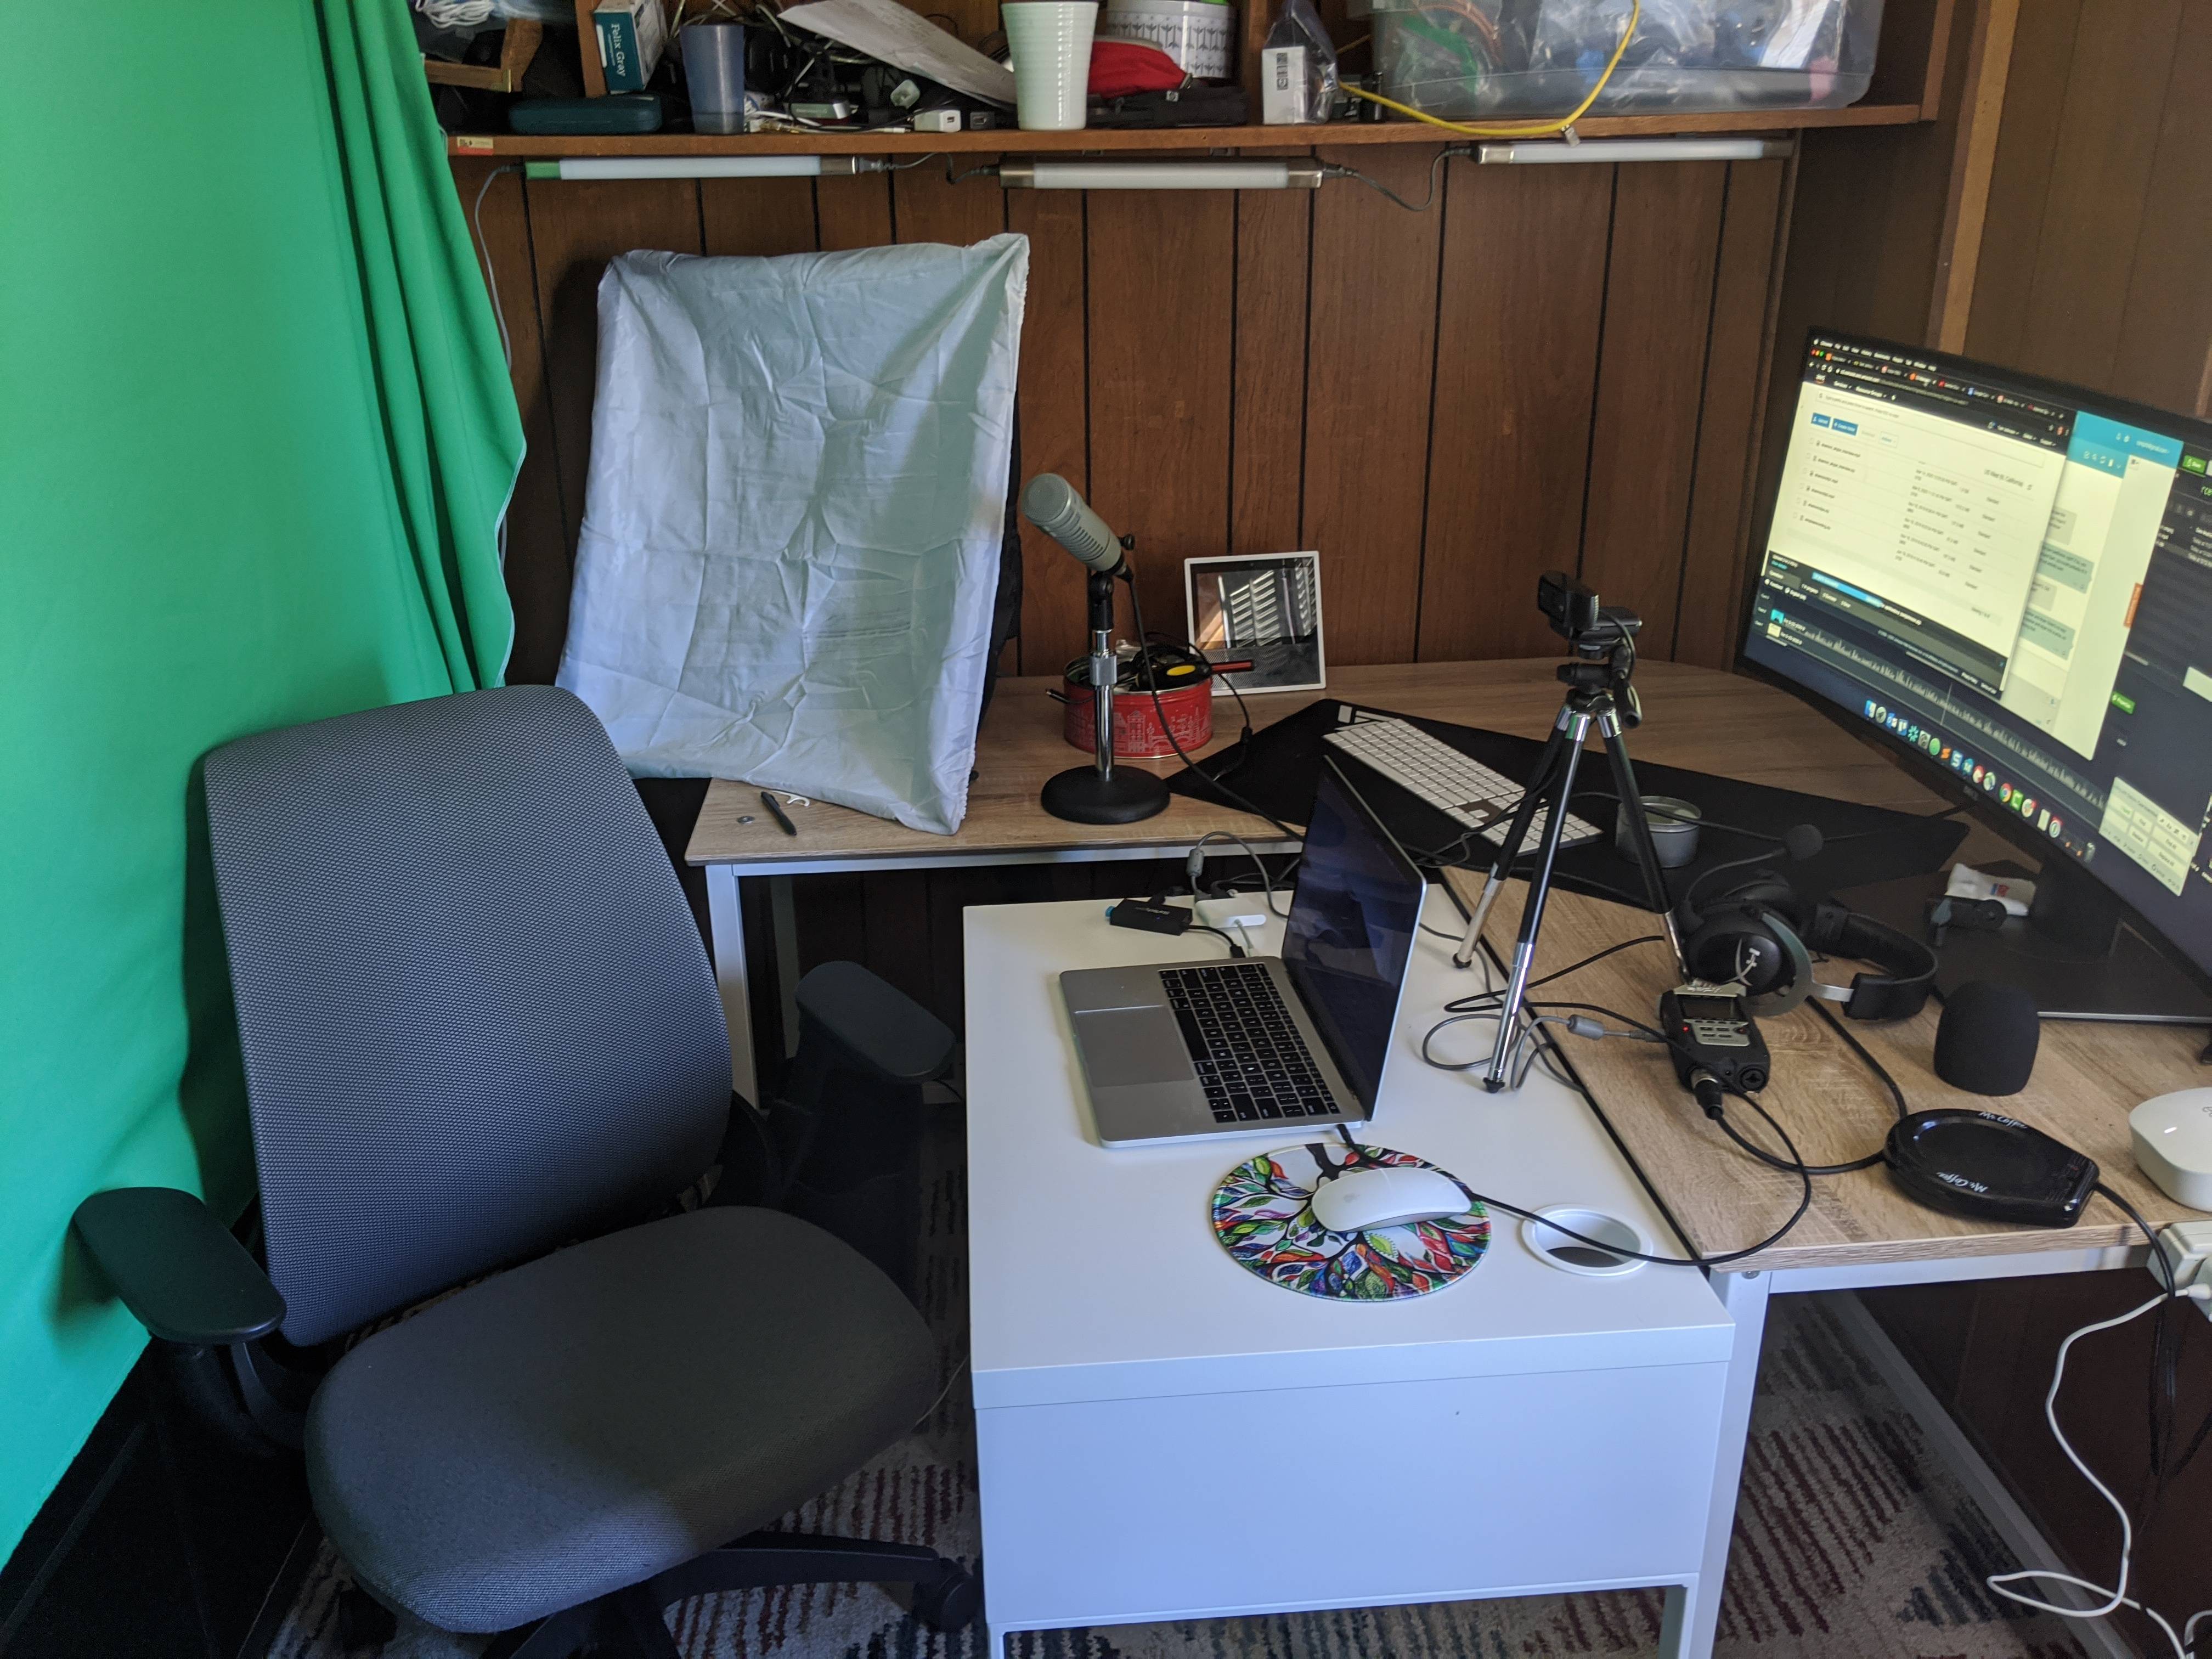
You can’t see the other softbox, but it’s similarly positioned on the opposite side, more or less in the door on a tripod stand.
Floor
There’s more, you ask? Yes. Initially, the floor was a wood floor. My office chair rolled around too much, especially when I slouch back in my chair, and I found myself constantly re-scooting in my chair. I decided to put a rug down in the room, which helps keep the chair from sliding around too much.
Since I already had a desk and shelves in the room, putting the rug down required me to move everything to the other half of the room, then put the rug in, and then slowly roll it to the other parts of the room while transitioning the furniture over to the other side. It would have probably been easier to take everything out of the room, because once I put anything back onto the rug, it became difficult to re-position it. At any rate, after some wrestling with the rug, it works well.
Other issues
I dealt with several other issues in the office, but they aren’t worth elaborating much on. There were lots of micro ants that would swarm the place any time there was a crumb of food or other substance available. I bought some Torro Liquid ant bait traps (basically sweet Borax inside plastic wells), and this eliminated the problem in about two days. I placed the traps below my monitor and watched the ants climb in despite so many other ants already being dead.
The office also had wood paneling that smelled woodsy. I have a sensitive nose and didn’t like this. After burning a candle in the room for about a week, the smell went away.
That’s about it! I already had the ideal computer monitor and chair because I hauled these home from work long ago. As for music, I have a nice Echo Show placed on my desk, which has a good speaker. The office is far enough from the other areas of the house to keep me relatively undisturbed.
Conclusion
I realize in “nesting” in my office, as my wife calls it, I’ve somewhat taken up a hobby of home-fix-it projects. Since many people have been developing new hobbies during the quarantine, I guess this has become my new hobby. I kind of like the challenge of fixing problems around the home. Perhaps these fix-it projects have also been a way of procrastinating my real work. At any rate, I have learned that I can self-learn a lot by searching online for videos and other information, which is empowering.
I consider this ability to self-learn one of the key characteristics of being a technical writer. I don’t possess in-depth knowledge of any home technology. For example, I might replace a light fixture, but I would never rewire my breaker. I would add an air conditioning unit but not create a wall cutout for it. I know my limits. As with technical writing, having broad but not deep knowledge tends to be the norm, at least for some scenarios.
That said, I’m not planning to do too many home fix-it projects. I really should be experimenting with web technologies rather than fixing things around the home, especially since we’re only renting. Even so, I’ve already moved on to another project — getting the sprinklers to work. Yesterday I tested the control panel and solenoids with a multimeter, and I’m moving closer towards identifying the problem, which I’m certain is electrical.
About Tom Johnson

I'm an API technical writer based in the Seattle area. On this blog, I write about topics related to technical writing and communication — such as software documentation, API documentation, AI, information architecture, content strategy, writing processes, plain language, tech comm careers, and more. Check out my API documentation course if you're looking for more info about documenting APIs. Or see my posts on AI and AI course section for more on the latest in AI and tech comm.
If you're a technical writer and want to keep on top of the latest trends in the tech comm, be sure to subscribe to email updates below. You can also learn more about me or contact me. Finally, note that the opinions I express on my blog are my own points of view, not that of my employer.
