

Get the sample Java project
To understand the documentation for Java APIs, it helps to see the context of what the documentation describes. As such, I created a simple little Java application (called sample-java-project) to demonstrate how the various tags get rendered into the Javadoc.
- Sample Java Project
- Download and open the project in Eclipse
- Play with the sample Java project
- Side Note about Maven projects
Sample Java Project
The sample Java project (available at github.com/tomjoht/sample-java-project) is a little Java application about different tools that a coyote will use to capture a roadrunner. There are two classes (ACMESmartphone and Dynamite) and another class file called App that references the classes.
This program only prints little messages to the console, but it’s simple enough to be instructive in its purpose. The purpose of the app is to demonstrate different doc tags, their placement, and how they get rendered in the Javadoc.
Download and open the project in Eclipse
One of your immediate challenges to editing Javadoc will be to get the source code into your IDE and open the project.
-
Go to the sample-java-project and clone the project using version control.
git clone https://github.com/tomjoht/sample-java-project(If you need to review version control basics, see Version control systems (such as Git).)
- If you haven’t already downloaded and installed Eclipse, do so.
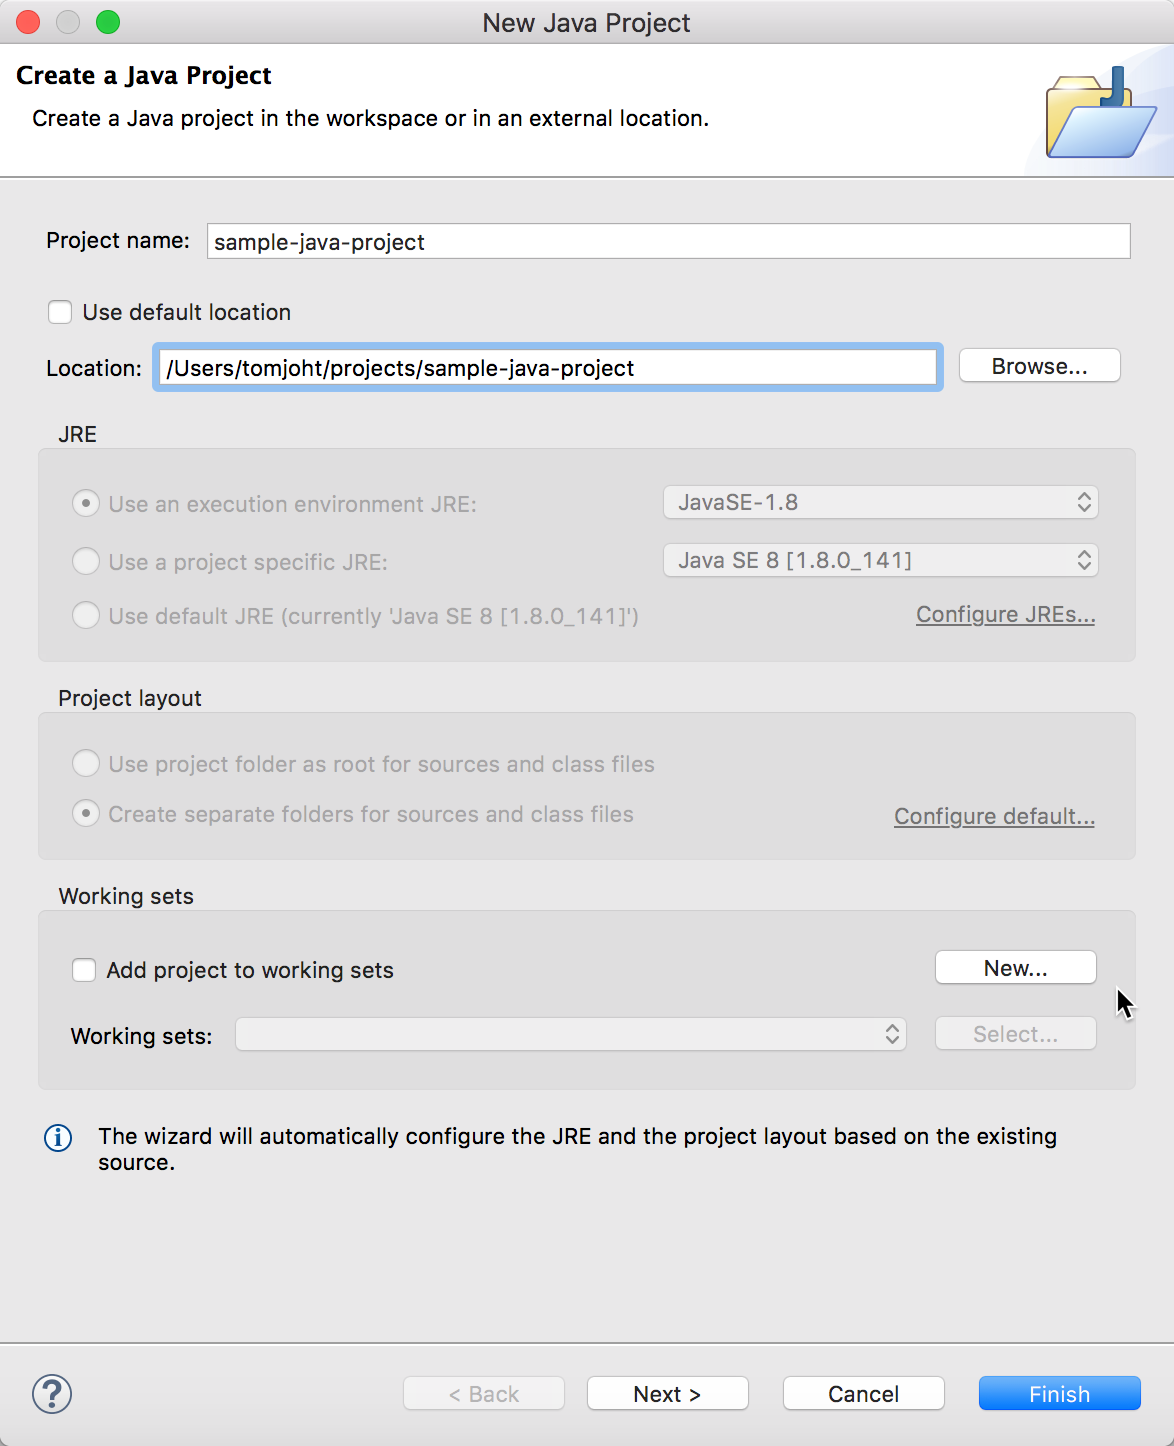
- Open Eclipse and go to File > New > Java Project.
-
Clear the Use default location check box, and then click Browse and select the folder where you cloned the Github project. Click Open.
Import existing Java project -
Click Finish to close the New Java Project dialog box.
The Java files should be visible in the left pane (Package Explorer) within your Eclipse IDE.
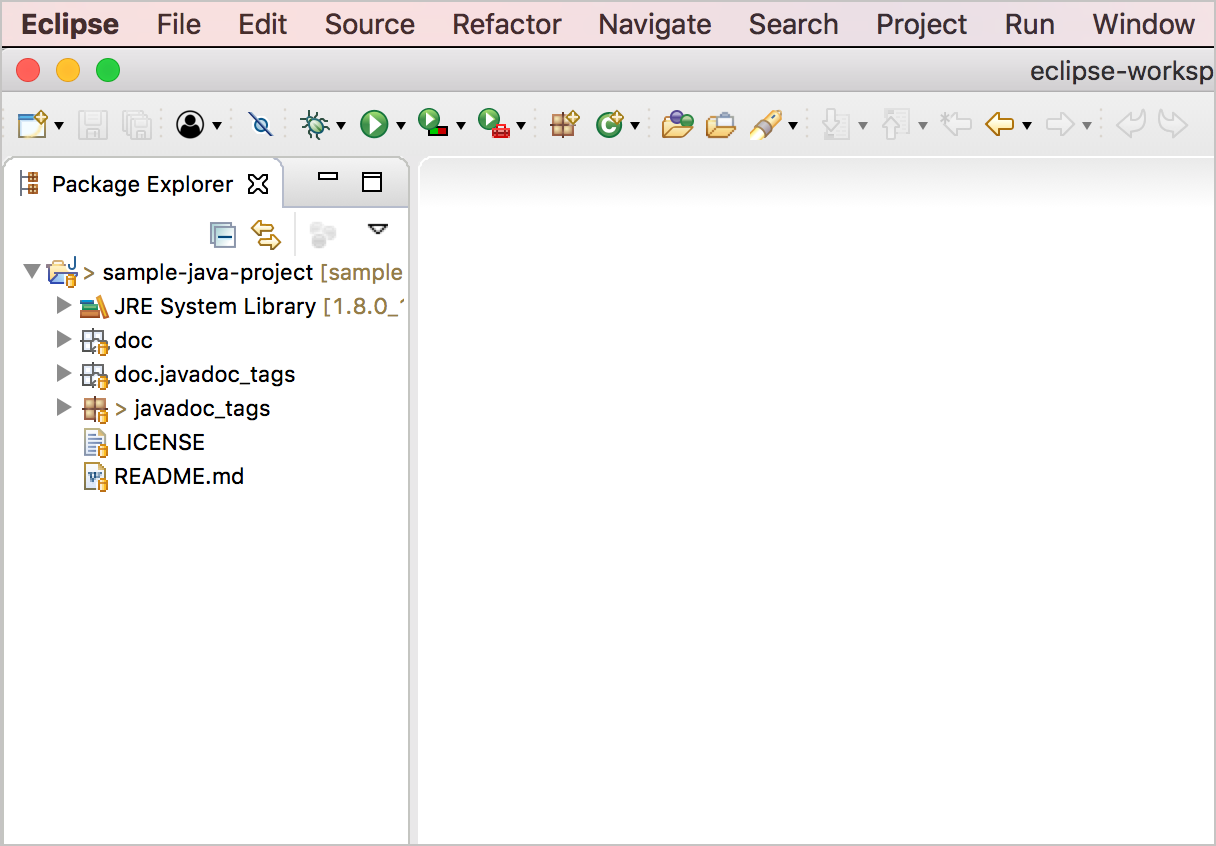
Eclipse File View
Play with the sample Java project
This Java app doesn’t do much. Its only purpose is to create some classes that demonstrate some Javadoc annotations. But for fun, run the app.
- In the Package Explorer, expand javadoc_tags.
- Double-click the App.java file to open it.
-
Click the Run App button
 :
: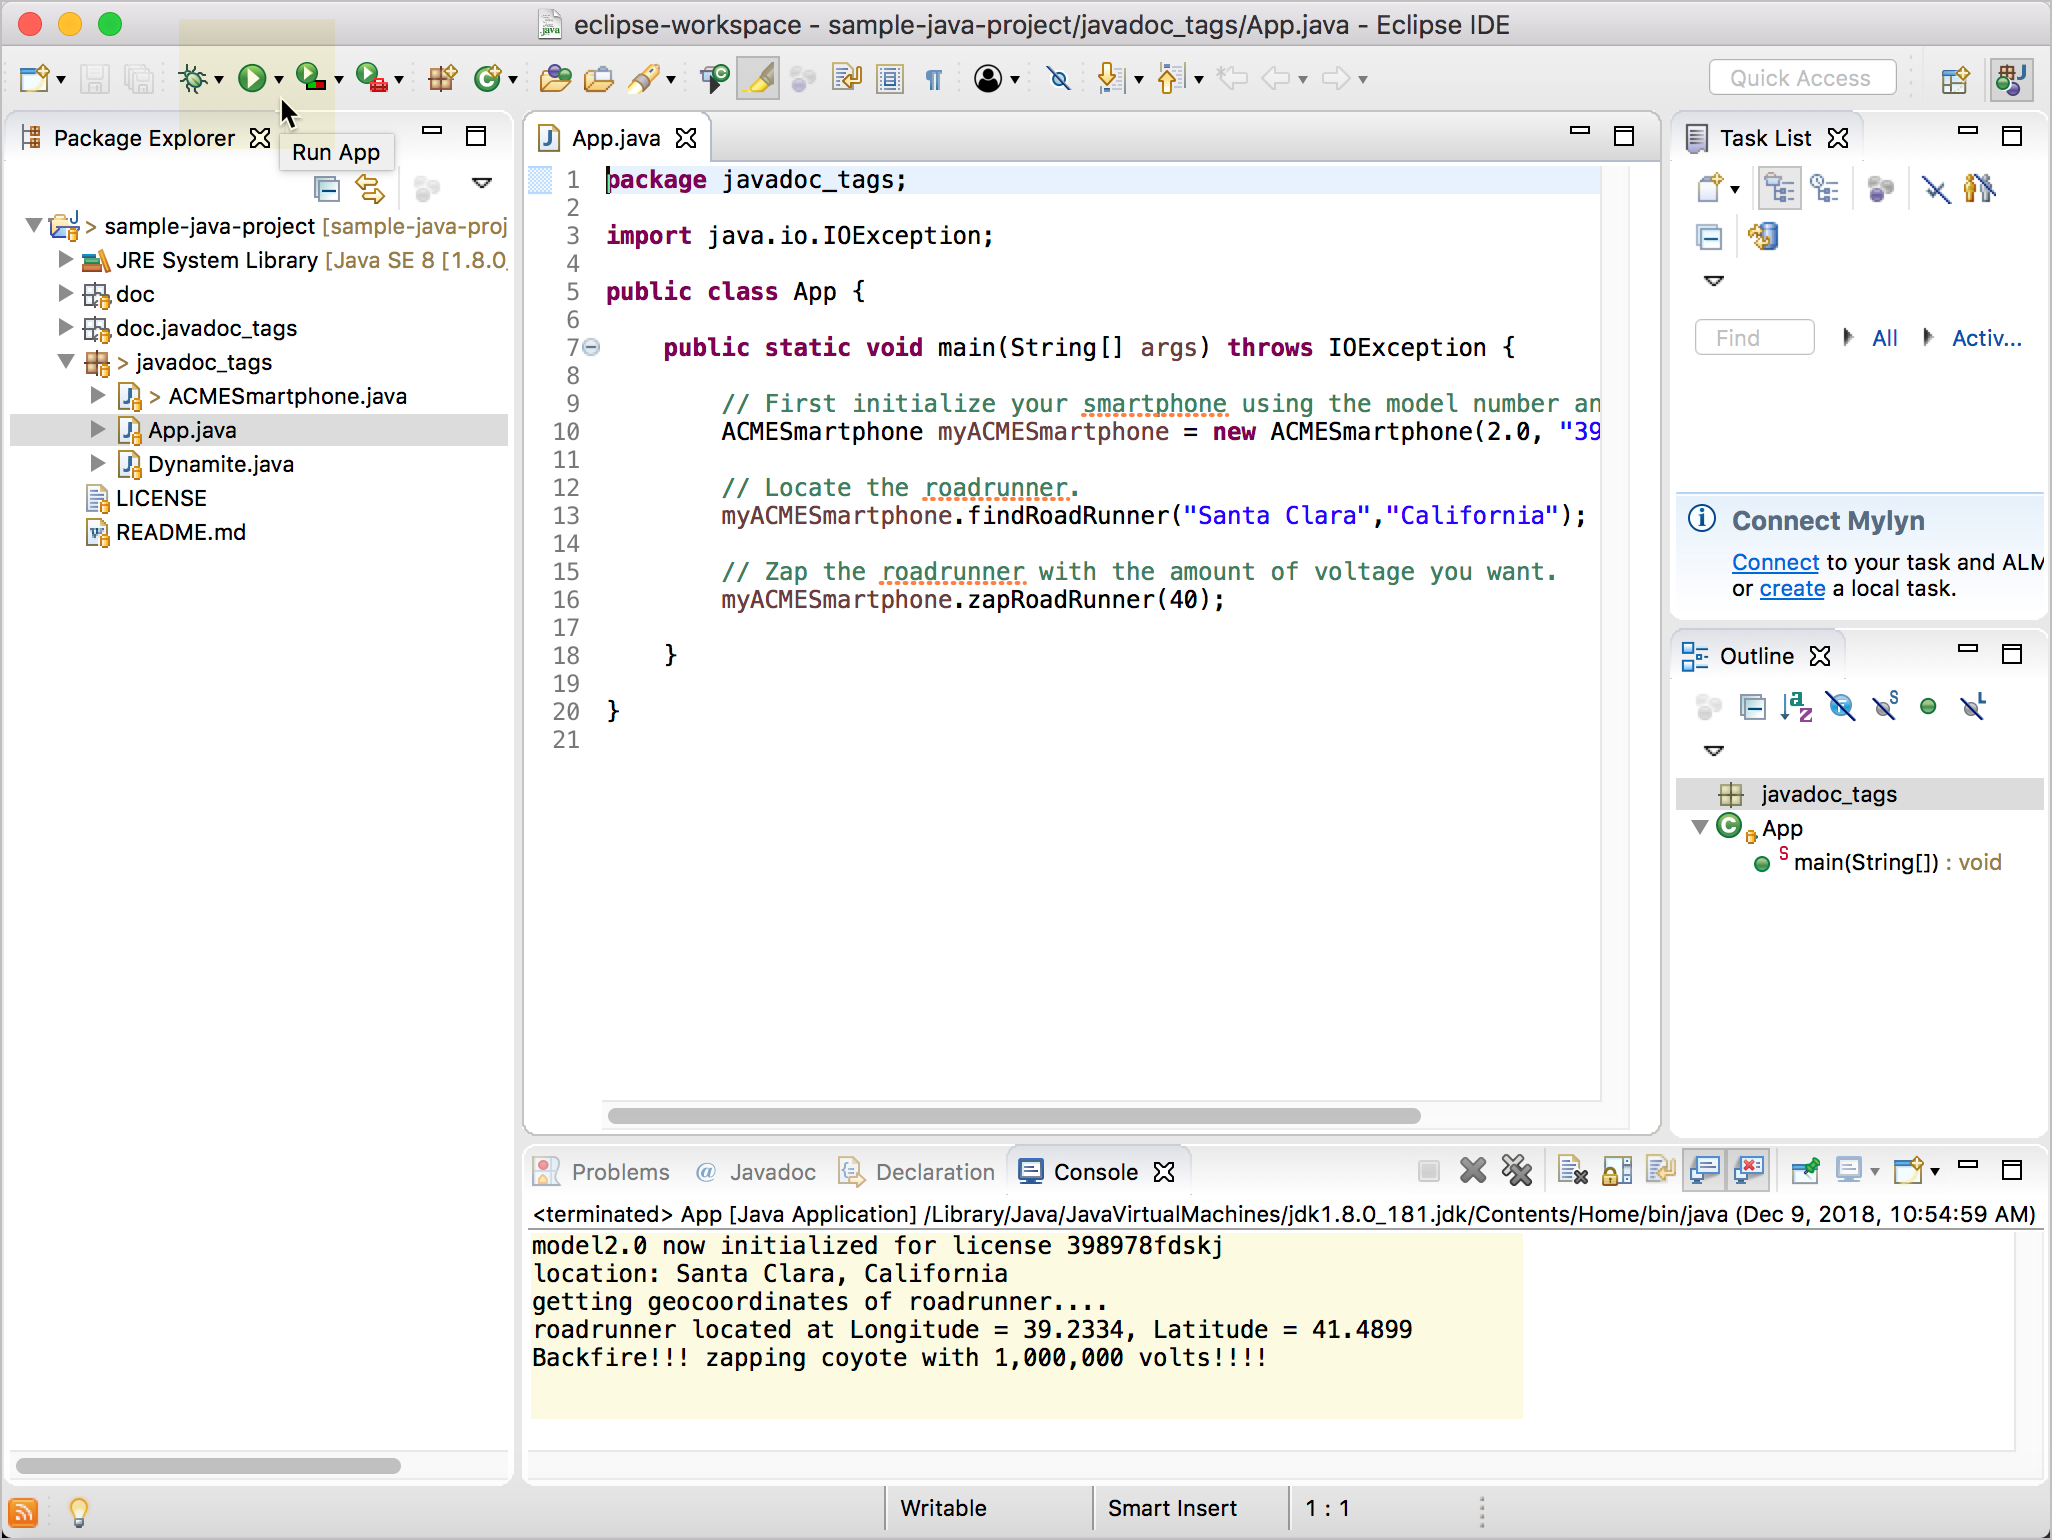
Running the app in Eclipse The main method (
public static void main(String[] args) throws IOException), which appears in the App.java file, runs the functions defined in the other package’s files (ACMESmartphone.javaandDynamite.java).public static void main(String[] args) throws IOException { // First initialize your smartphone using the model number and license key. ACMESmartphone myACMESmartphone = new ACMESmartphone(2.0, "398978fdskj"); // Locate the roadrunner. myACMESmartphone.findRoadRunner("Santa Clara","California"); // Zap the roadrunner with the amount of voltage you want. myACMESmartphone.zapRoadRunner(40); }You can view the details of each function by clicking the
ACMESmartphone.javaandDynamite.javaclass files.Then app prints this text to the console:
model2.0 now initialized for license 398978fdskj
location: Santa Clara, California
getting geocoordinates of roadrunner....
roadrunner located at Longitude = 39.2334, Latitude = 41.4899
Backfire!!! zapping coyote with 1,000,000 volts!!!!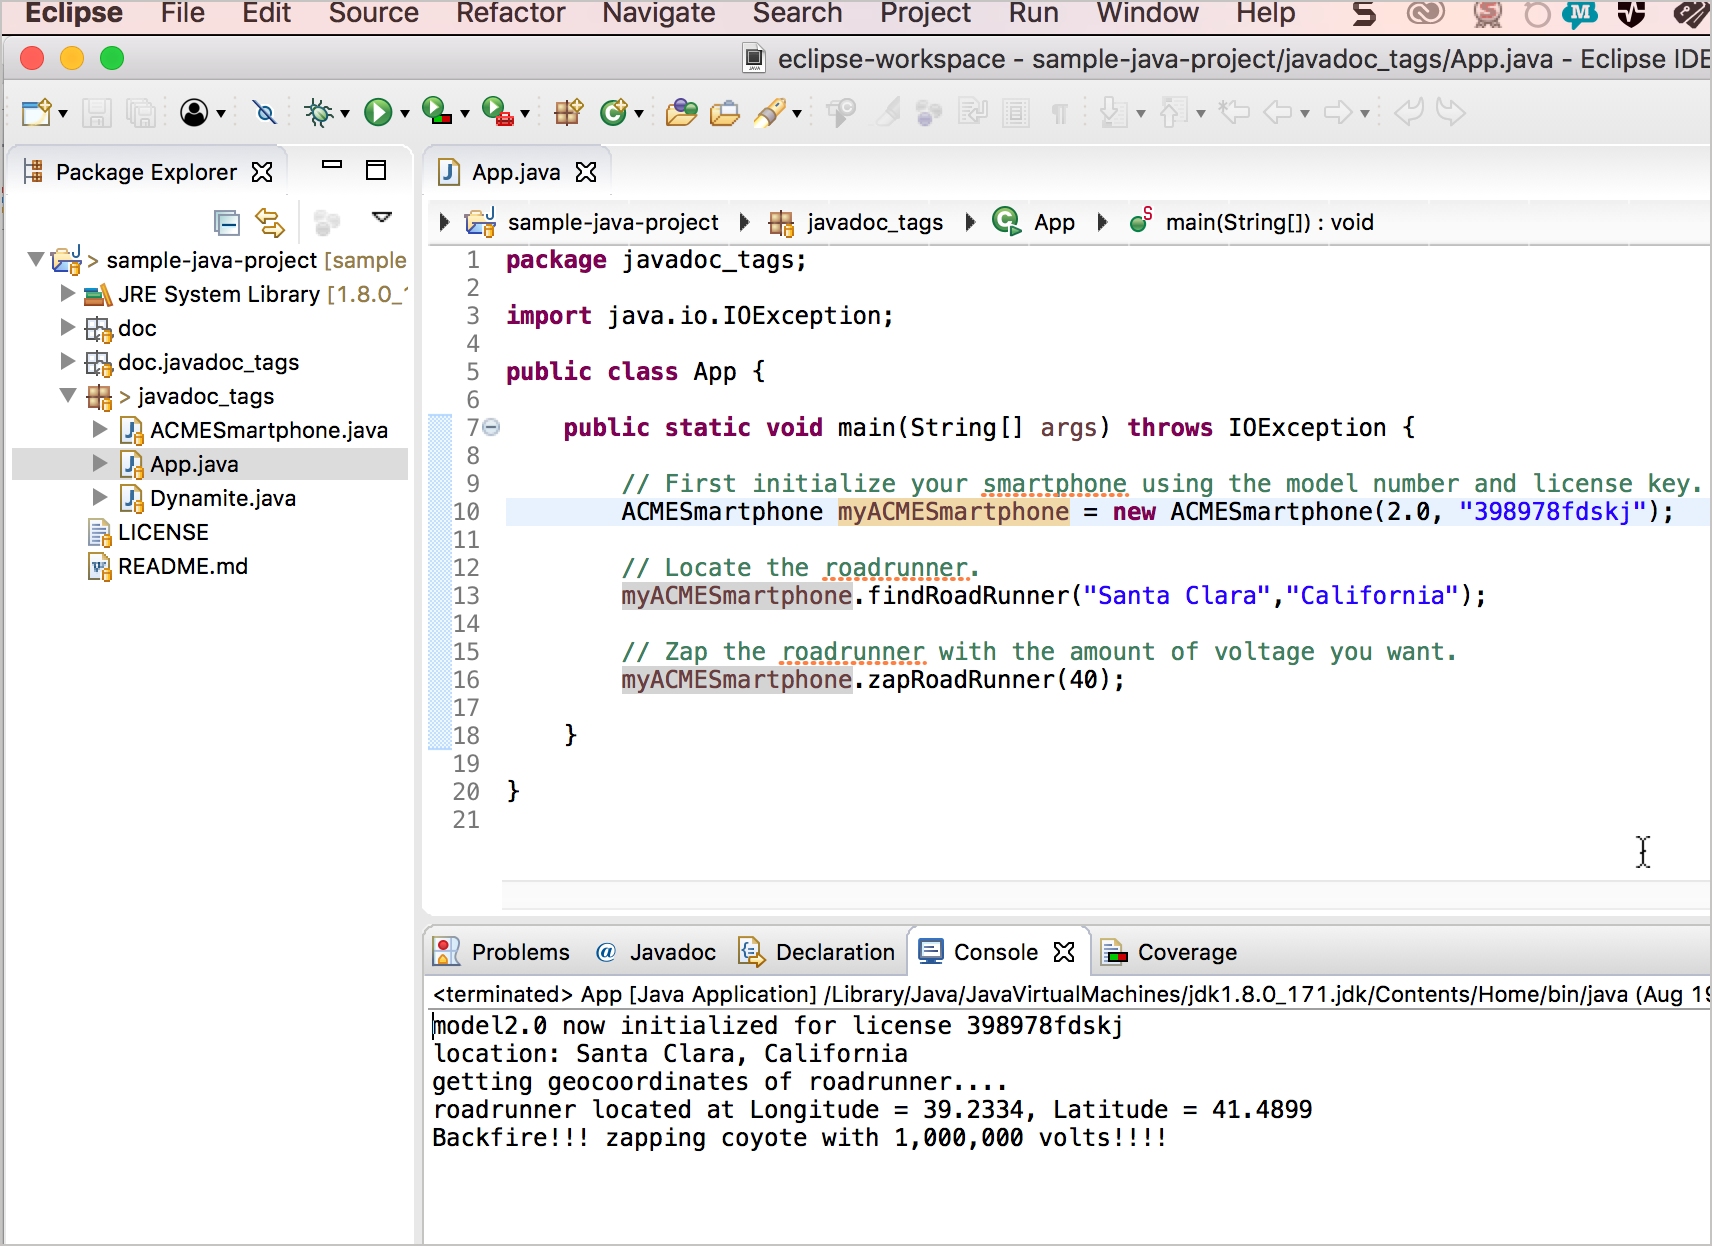
Running the program
Side Note about Maven projects
Before leaving this intro topic on getting started with a Java project, I’d like to make a note about Maven. Java projects often have a lot of dependencies on packages that are third-party libraries or at least non-standard Java utilities. Rather than requiring users to download these additional packages and add them to their class manually, developers frequently use Maven to manage the packages. (Maven is to Java as Gradle is to Android.)
Maven projects use a pom.xml file that defines the dependencies. Eclipse ships with Maven already installed, so when you import a Maven project and install it, the Eclipse Maven plugin will retrieve all of the project dependencies and add them to your project.
The sample project doesn’t use Maven, but chances are if you’re getting a Java project from developers, you won’t import it in the way I previously described. Instead, you’ll import it as an existing Maven project.
(To import a Maven project into Eclipse, you would go to File > Import > Maven > Existing Maven Projects and click Next. In the Root Directory field, you would click Browse and browse to the Java project folder (which contains the Maven pom.xml file) and then click Open. Then you would click Finish in the dialog box. In the Project Explorer pane in Eclipse, you would right-click the Java folder and select Run as Maven Install. Maven retrieves the necessary packages and builds the project. If the build is successful, you will see a “BUILD SUCCESS” message in the console. You would then use the source code in the built project.)
About Tom Johnson

I'm an API technical writer based in the Seattle area. On this blog, I write about topics related to technical writing and communication — such as software documentation, API documentation, AI, information architecture, content strategy, writing processes, plain language, tech comm careers, and more. Check out my API documentation course if you're looking for more info about documenting APIs. Or see my posts on AI and AI course section for more on the latest in AI and tech comm.
If you're a technical writer and want to keep on top of the latest trends in the tech comm, be sure to subscribe to email updates below. You can also learn more about me or contact me. Finally, note that the opinions I express on my blog are my own points of view, not that of my employer.
125/168 pages complete. Only 43 more pages to go.