Test all instructions yourself
After setting up your test environment, the next step is to test your instructions. This will likely involve testing API endpoints with various parameters along with other configurations. Testing all your docs can be challenging, but it’s where you’ll get the most useful insights when creating documentation.
- Benefits of testing your instructions
- Going through the whole process
- Empowered to test additional features
- The pleasures of testing
- Accounting for the necessary time
Benefits of testing your instructions
One benefit of testing your instructions is that you can start to answer your own questions. Rather than taking the engineer’s word for it, you can run a call, see the response, and learn for yourself. (This assumes the application is behaving correctly, though, which may not be the case.)
A lot of times, when you discover a discrepancy in what’s supposed to happen, you can confront an engineer and tell him or her that something isn’t working correctly. Or you can make suggestions for improving workflows, terms, responses, error messages, etc. You can’t do this if you’re just taking notes about what engineers say, or if you’re just copying information from wiki specs or engineer-written pages.
When things don’t work, you can identify and log bugs in issue tracking systems such as JIRA. Logging bugs is helpful to the team overall and increases your credibility with the engineers. It’s also immensely fun to log a bug against an engineer’s code because it shows that you’ve discovered flaws and errors in what the “gods of code” have created.
Other times, the bugs are within your documentation. For example, on one project, through testing API calls I realized I had one of my parameters wrong. Instead of verboseMode, the parameter was simply verbose. This subtle discrepancy is one of those details you don’t discover unless you test something, find it doesn’t work, and then set about figuring out what’s wrong.
If you’re testing a REST API, you can submit the test calls using curl, Postman, or another REST client. Save the calls so that you can quickly run a variety of scenarios.
When you start to run tests and experiments, you’ll begin to discover what does and does not work. For example, at one company, after setting up a test system and running some calls, I learned that part of my documentation was unnecessary. I thought that field engineers would need to configure a database with a particular code themselves, when it turned out that IT operations would actually be doing this configuration.
I didn’t realize this until I started to ask how to configure the database, and an engineer said that my audience wouldn’t be able to do that configuration, so it shouldn’t be in the documentation.
It’s little things like that, which you learn as you’re going through the process yourself, that reinforce the importance of testing your docs. Testing is vital to writing good developer documentation. Never just take an engineer’s word for how something works. If you follow this advice and test all your docs, you’ll be successful in the API doc field. But if you just transcribe what engineers tell you, you’ll basically end up being an engineer’s secretary. (For more, see my blog post How to avoid being a secretary for engineers.)
Going through the whole process
In addition to testing individual endpoints and other features, it’s also important to go through the whole user workflow from beginning to end.
While working at one company, it wasn’t until I built my own app and submitted it to the Appstore that I discovered some bugs. I was documenting an app template designed for third-party Android developers building streaming media apps for the Amazon Appstore. To get a better understanding of the developer’s tasks and process, I needed to be familiar with the steps I was asking developers to do. For me, that meant building an app and submitting my app to the Appstore — the whole workflow from beginning to end.
To build my sample app, first I had to figure out how to get content for my app. I decided to take the video recordings of podcasts that we had through the Write the Docs podcast and use that media for the app.
Since the app template didn’t support YouTube as a web host, I downloaded the MP4s from YouTube and uploaded them directly to my web host. Then I needed to construct the media feed that I would use to integrate with the app template. The app template could read all the media from a feed by targeting it with Jayway Jsonpath or XPath expression syntax.
I used Jekyll to build my feed. (You can view my JSON-based feed at podcast.writethedocs.org/fab.json.) The most challenging part in setting up this feed was configuring the recommendations object. Each video has some tags. The recommendations object needed to show other videos that have the same tag. Getting the JSON valid there was challenging, and I relied on some support from the Jekyll forum.
After I had the media and the feed, integrating it into Fire App Builder was easy because, after all, I had written the documentation for that.
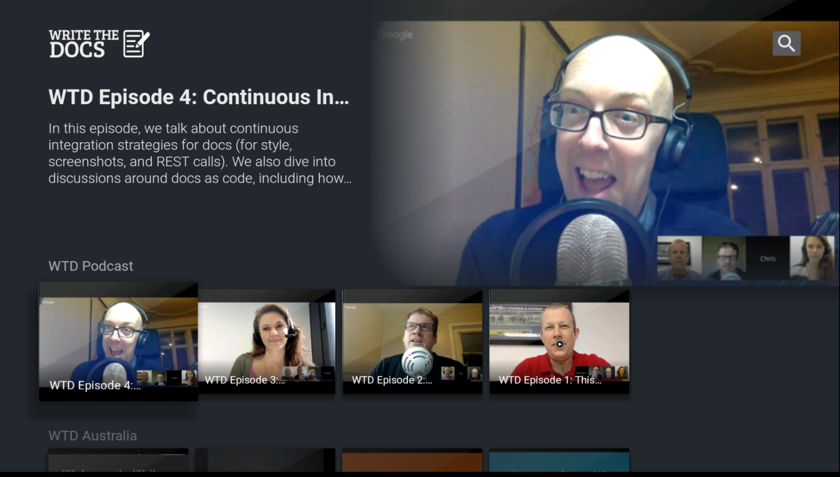
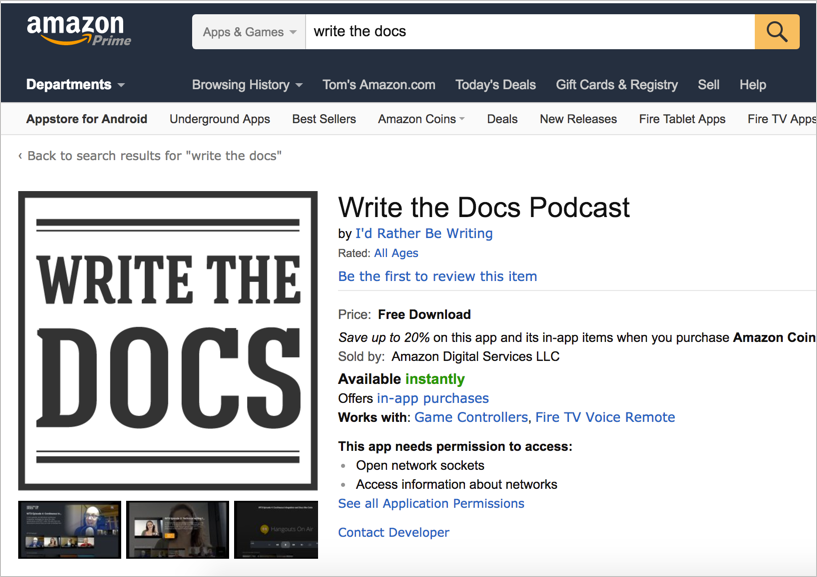
Submitting the app into the Appstore was fun and illuminated parts of the developer’s workflow that I hadn’t previously understood. You can view the Write the Docs podcast app in the Amazon Appstore website here.
Here’s what the app screens look like on your Fire TV:

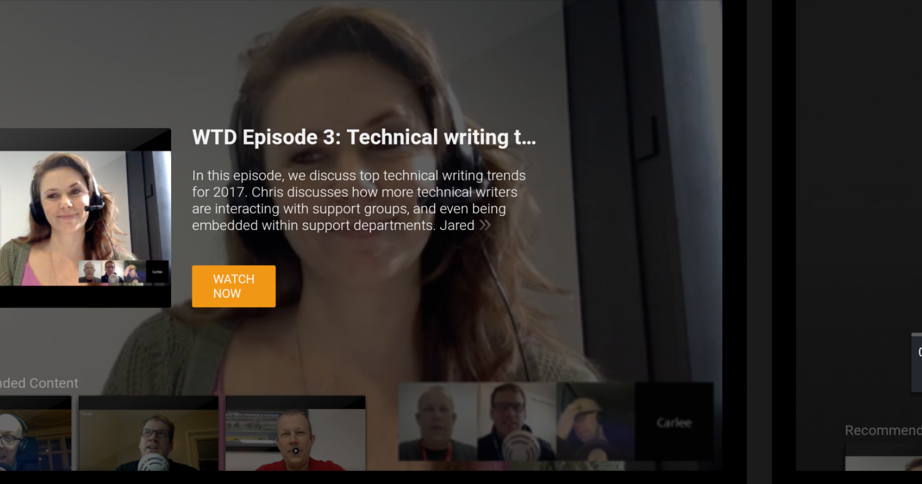
When you select a video, you see a video preview screen:

All seemed to go well, but then I discovered some bugs that I would not have discovered had I not actually submitted the app into the Appstore. First, I found that device targeting (listing certain features in your Android manifest to identify which Fire devices your app supports) didn’t work correctly for Fire TV apps. (This issue wasn’t directly related to the app template, though.)
I also discovered other issues. Although developers had tested the app template for many months, they hadn’t tested pushing apps into the Appstore with the app template. It turns out the template’s in-app purchases component (not active or configured by default) automatically triggered the Appstore to add a tag indicating that the app contained in-app purchases.
This in-app-purchasing tag surprised the dev team, and it would have caused a lot of issues if all apps that third-party developers were building showed this tag.
The developers said users could simply deregister the component from the app. So I modified the doc to indicate this. Then I tried deregistering the component from the app and submitted a new version, but the in-app-purchases tag issue persisted.
This experience reinforced to me how vital it is to get your hands on the code you’re documenting and run it through as real of a situation as you can. It blew my mind that the engineering team did not actually have an app in the Appstore that they published with this template. I was the only one.
It’s not always possible to run code through real situations, and there are times when I might limit my role to editing and publishing only, but that’s not the scenario I prefer to work in. I love getting my hands on the code, trying to make it work in the scenario it was designed for. Really, how else can you write good documentation?
The team also asserted that the same app could be submitted into the Google Play Appstore. However, this was an untested assumption. When I submitted my app into the Play Store, Google rejected it due to missing banner assets declared in the manifest. It also triggered “dangerous permission” warnings. I relayed the information to engineers, who created JIRA tickets to address the issues. More than just creating better documentation, this testing allowed me to improve the products I was documenting. (It also improved my credibility with the engineers.)
This same type of scenario repeats itself frequently with other projects as well. Another engineering team I was supporting also developed an app template (web instead of Android) for publishing apps in the Appstore. This tool was designed for non-technical end users and was supposed to be easy. The project team hadn’t even planned any documentation except for a brief FAQ.
I tested the tool from beginning to end by creating and submitting an app with it. By the time I finished, I had more than 30 questions along with several significant issues that I had discovered. I uncovered many previously unknown bugs, called attention to a problematic synchronization issue, brought together teams from across organizations to troubleshoot some issues, and generally raised my value from mere documentation writer to more of a power player on multiple teams.
Empowered to test additional features
Testing documentation for developers is difficult because we often just provide reference APIs for users to integrate into their own apps. We assume that developers already have apps, and so all they need is the API integration information. But many times you can’t know what issues the API has until you integrate it into a sample app and use the API in a full scenario from beginning to end.
For example, for general Fire TV users who weren’t using the app template, I also wrote documentation on how to integrate and send recommendations. But since I didn’t have my own general Fire TV app (not one built with Fire App Builder) to test this with, I didn’t play around with the code to send recommendations. I had to take on faith much of my information based on the engineer’s instructions and the feedback we were getting from beta users.
As you can imagine, I later discovered gaps in the documentation that I needed to address. It turns out when you, in fact, send recommendations to the Fire TV home screen, Fire TV uses only some of the recommendations information that you submit. But in my original docs, I didn’t indicate which fields actually get used. This lack of information left developers wondering if they integrated the recommendations correctly. Unsurprisingly, in our forums, a third-party developer soon asked what he was doing wrong because a field he was passing seemed to be ignored in the display.
Putting together an app from scratch that leverages all the recommendation API calls requires more effort, for sure. But to write better documentation, it’s the step I needed to take to ferret out all the potential issues users would face. If creating the sample app is beyond your skill level, ask the engineers for a demo app or to schedule a meeting where they will demonstrate the feature in a live way.
Overall, make sure to test the code you’re documenting in as real of a situation as you can. You’ll be surprised what you discover. Reporting back the issues to your team will make your product stronger and increase your value to the team.
The pleasures of testing
Testing your instructions makes the tech writing career a lot more engaging. I’d even say that testing all the docs is what converts tech writing from a dull, semi-isolated career to an engaging, interactive role with your team and users.
There’s nothing worse than ending up as a secretary for engineers, where your main task is to record what engineers say, write up notes, send it to them for review, and then listen to their every word as if they’re emperors who give you a thumbs up or thumbs down. That’s not the kind of technical writing work that motivates me.
Instead, when I can walk through the instructions myself, and confirm whether they work or not, adjusting them with more clarity or detail as needed, that’s when things become interesting. (And actually, the more I learn about the knowledge domain itself — the technology, product landscape, business, and industry, etc. — the appeal of technical writing increases dramatically.)
In contrast, if you just stick to technical editing, formatting, publishing, and curating, these activities will likely not fulfill you in your technical writing career (even though these activities are still worthwhile). Only when you get your synapses firing in the knowledge domain you’re writing in, as well as get your hands dirty testing and trying out all the steps and processes, does the work of technical writing come alive.
Accounting for the necessary time
Note that it takes time to try out the instructions yourself and with users. It probably doubles or triples the documentation time. Writing thorough, accurate instructions that address users with different setups, computers, and goals is tedious. You don’t always have this time before release.
But don’t assume that once your product is released, all documentation is done. You can always go back over your existing, already-published documentation and improve it. Consider the first release a kind of “Day 1” for your documentation. It’s the first iteration. Your documentation will get better with each iteration. If you couldn’t get your test system up and running before the first release, that’s okay. Build the test system for the upcoming release.
With the first release, if you can capture feedback as your documentation get used (feedback from forums, contact email, logs, and other means), you can improve your documentation and see gaps that you likely missed. In some ways, each time users consult the documentation to perform a task, they are testing your documentation. (For more on capturing feedback, see my post on Reconstructing the absent user.)
Beyond just testing documentation yourself, you also need to test it against users.
About Tom Johnson

I'm an API technical writer based in the Seattle area. On this blog, I write about topics related to technical writing and communication — such as software documentation, API documentation, AI, information architecture, content strategy, writing processes, plain language, tech comm careers, and more. Check out my API documentation course if you're looking for more info about documenting APIs. Or see my posts on AI and AI course section for more on the latest in AI and tech comm.
If you're a technical writer and want to keep on top of the latest trends in the tech comm, be sure to subscribe to email updates below. You can also learn more about me or contact me. Finally, note that the opinions I express on my blog are my own points of view, not that of my employer.
65/168 pages complete. Only 103 more pages to go.


